Lacto-Fermented Green Beans
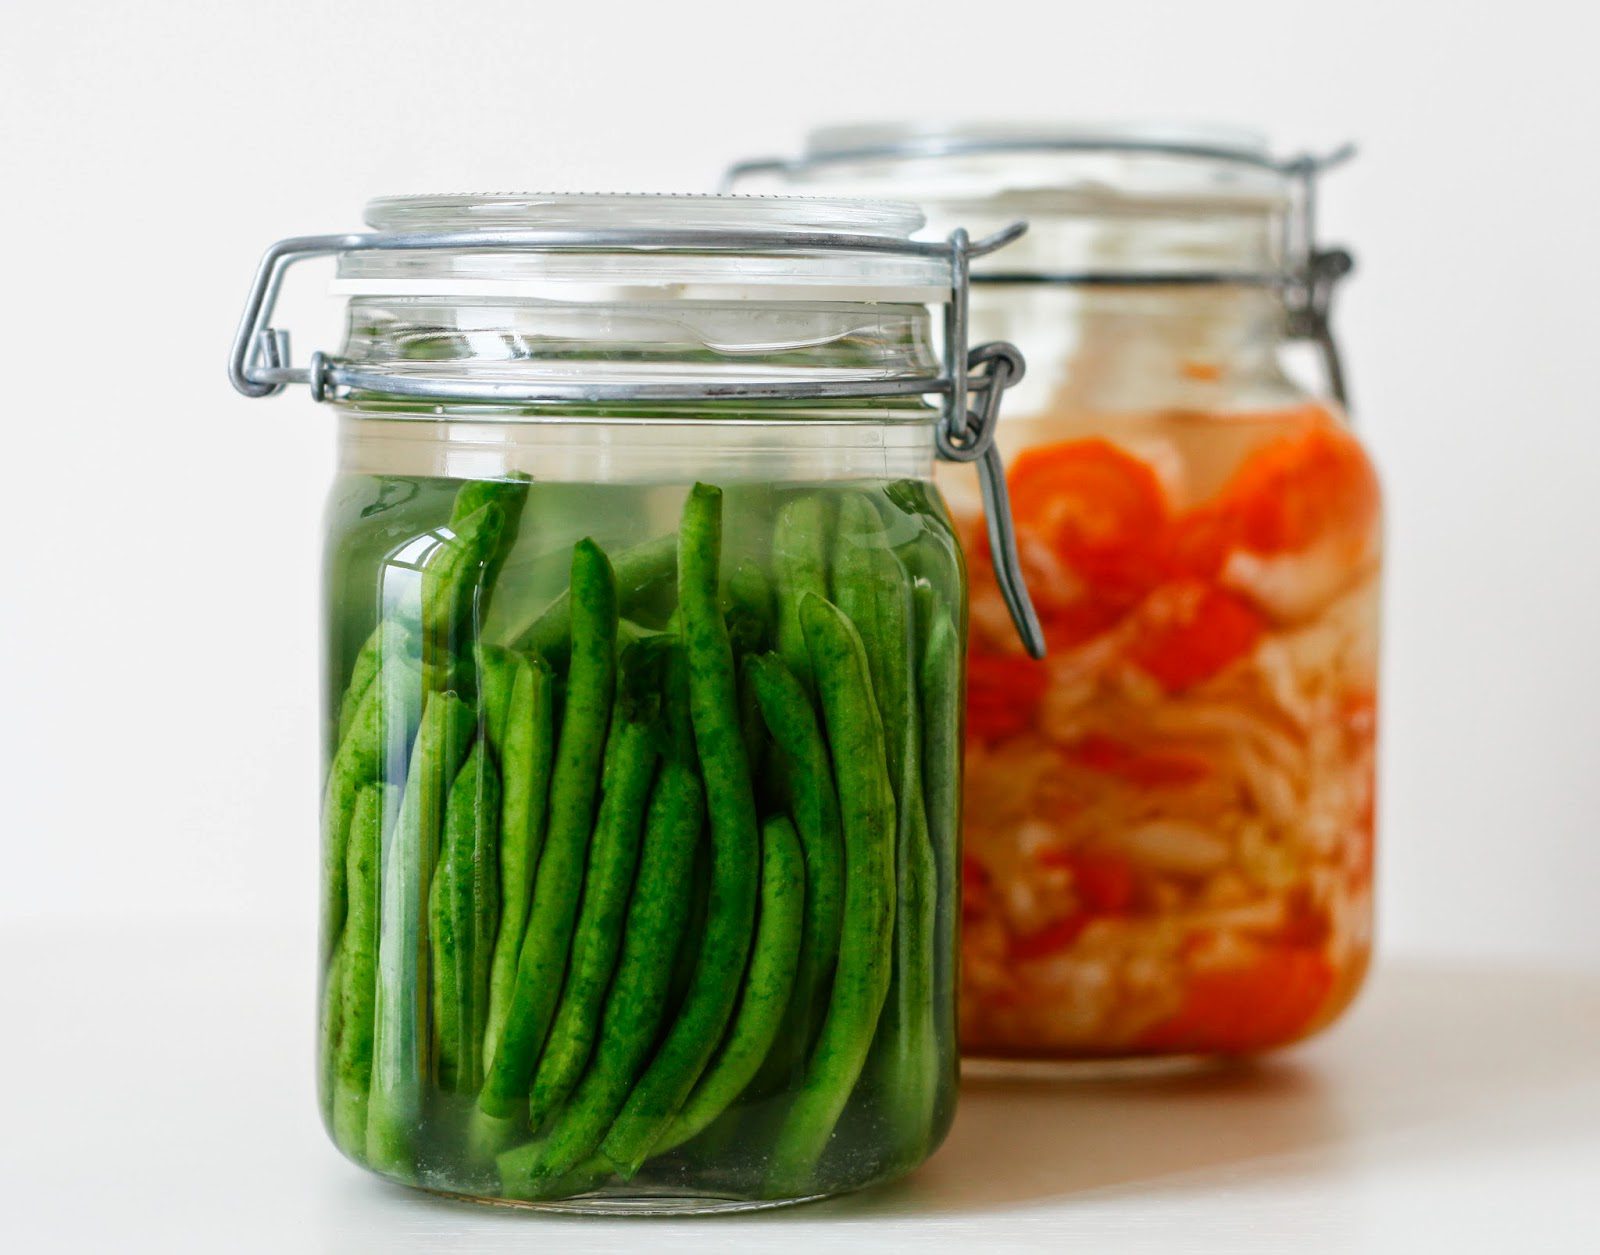
I recently had a go at fermenting almost all the veggies I had left in my fridge before going away for a holiday. This was the first time I tried fermenting green beans and they turned out so well, I also fermented some carrot & celery which I always seem to have in the fridge, you can check out the recipe here.
It is quite a simple process since you don’t need to massage them to bring out any juices like you do with cabbage. All you need to do is create a brine and cover them completely in a jar. It’s that simple!
 |
| Lacto-Fermented Green Beans |
I felt such a great sense of satisfaction knowing all my left over veggies in the fridge were put to good use, and on return from our holidays we would be rewarded with some probiotic rich, gut healing, nutrient boosting homemade super foods. This is perfect for anyone on a budget as there is no need to buy expensive probiotics and the latest expensive ‘superfood’ item when you can make your own at home.
I always use Body Ecology Veggie Culture Starter which produces consistent results each and every time as you start off guaranteed with all the right strains of good bacteria and this has been so important to us and in healing my child’s health problems. I will list both methods below to make the lacto-fermented green bean recipe with and without a culture starter (although I do recommend using a culture starter or whey for consistent results).
If you live in Australia, you can order your Body Ecology products from here. Enter discount code ‘loveurbelly’ for 5% off or order direct from Body Ecology USA.
You will also need to use fresh, crunchy beans as the soft wilted ones will be harder to compact in and will be tougher.
- 1 litre (1 Quart size approx) Jar with Flip Top lid/lock (e.g. Fido Jar)
- 400-500gm fresh green beans
- 1 litre clean filtered water (boiled and cooled if unsure)
- 1 tsp to 3 tbsp natural sea salt
- 1 sachet Body Ecology Veggie Culture Starter optional and 1/2 tsp organic sugar
- 2 cabbage outer leaves or cut 2 wedges of cabbage (all the cabbages seem to have the outer leaves removed over here so I have been using wedges of cabbage, they end up fermented too so I also eat them with the vegetables)
 |
| Lacto-Fermented Green Beans |
- Take the culture starter sachet out of the fridge to allow it to come to room temperature
- Clean the jar and all utensils (knife, board) with hot water and vinegar and sit on a dish rack or clean tea towel to air dry
- Wash the beans and sit on a clean tea towel to dry
- In a small glass, add some of the water and dissolve halve a tsp of organic sugar (if using the Culture starter, skip if not)
- Empty the sachet into the glass to allow the bacteria to wake up and start feeding on the sugar
- Top the beans (and tail if you prefer, I didn’t bother)
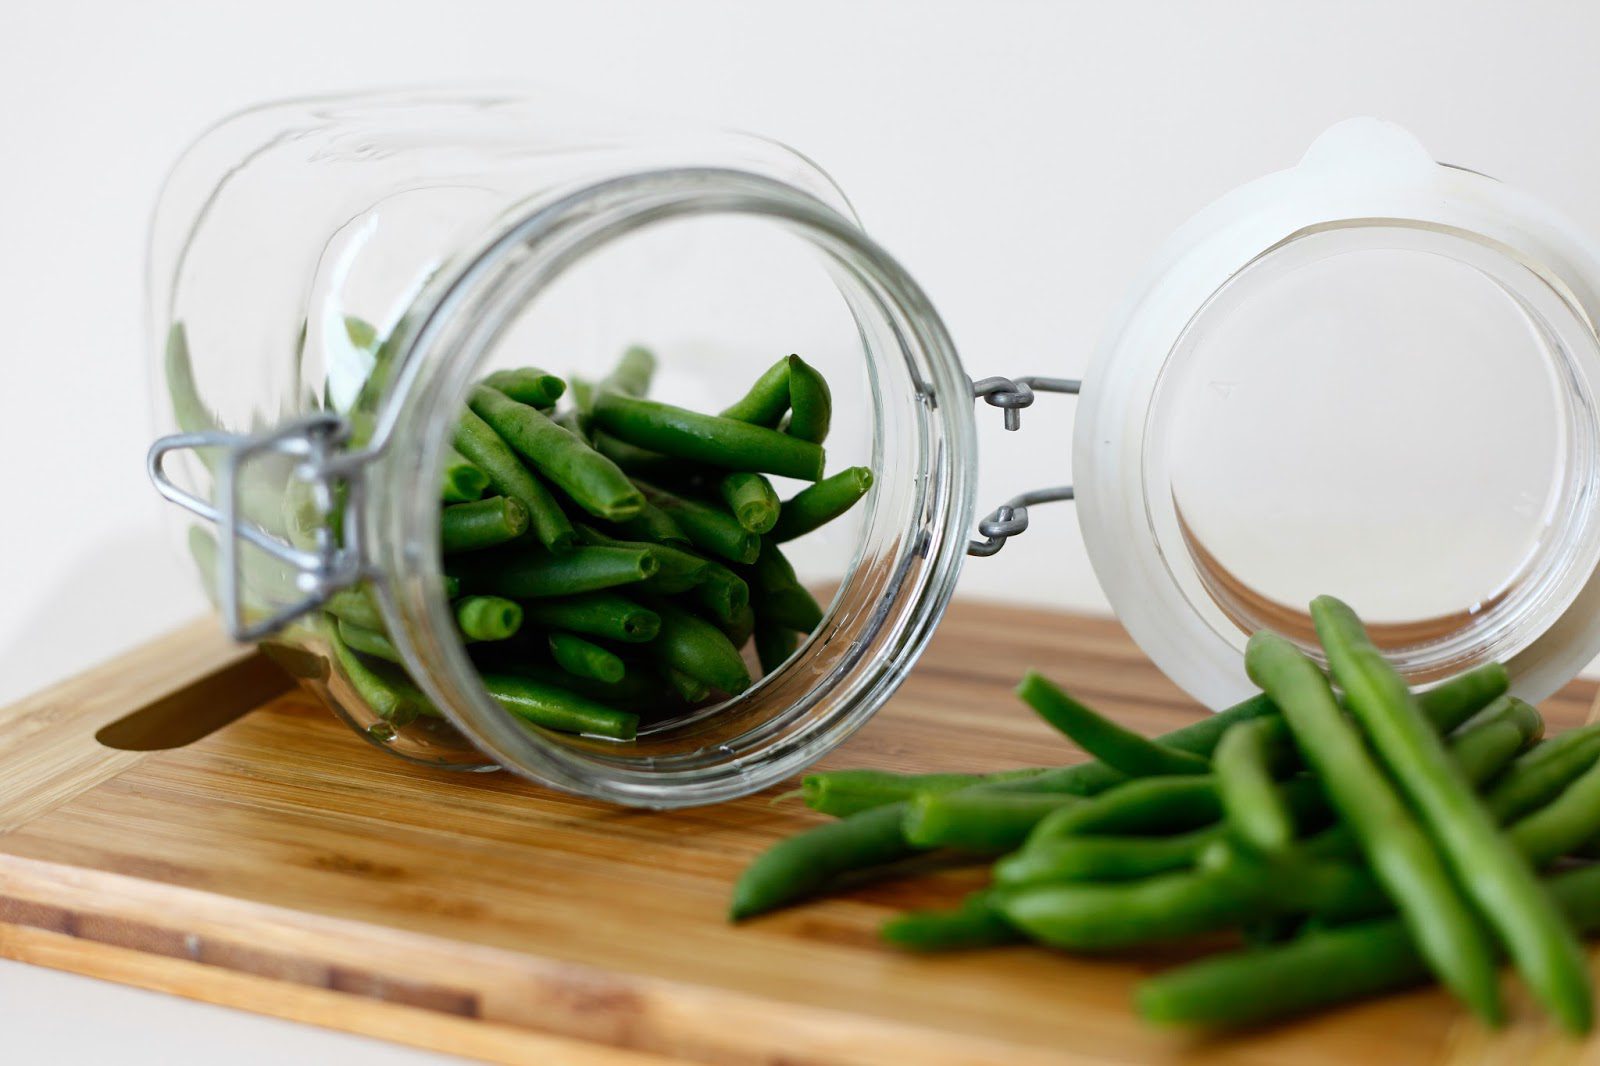
- Lay your jar on the side and start stacking the green beans on top of each other until the jar is quite full and the beans won’t fall over once you stand the jars upright
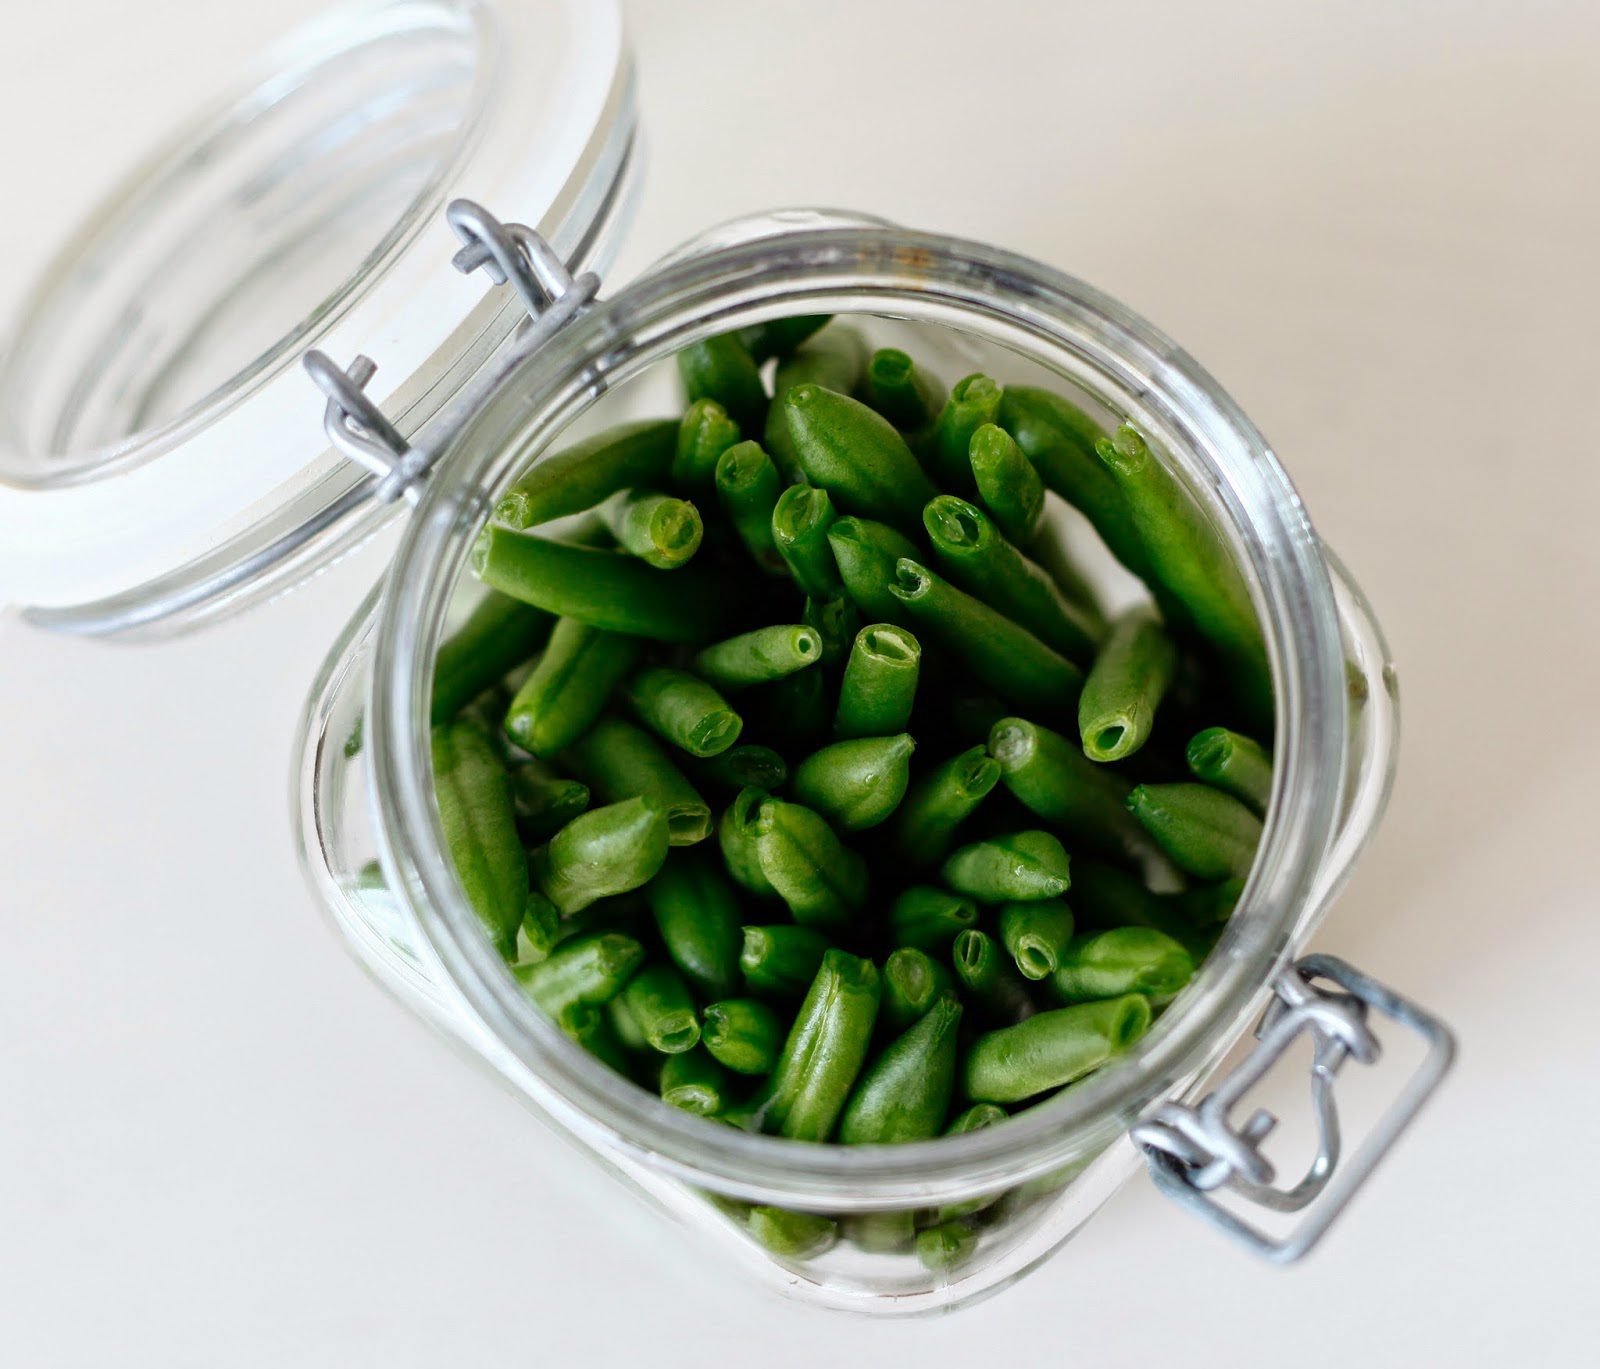
- Once the jar is upright, keep pushing more and more beans in until you can’t squeeze another bean in. They need to be really tight so they don’t float up in the brine
- Try and squeeze another bean in 😉
- Make a brine by dissolving 1 tsp salt with the water, then add the culture starter mixture (salt is used to inhibit the growth of bad bacteria to give the good bacteria a good start to do their thing. Using a culture starter allows you to use less salt, if you prefer softer veggies you can reduce the salt further, increase the salt for more crunch)
- Pour the brine over the green beans until just covered
- Roll up each cabbage leaf (or place the cabbage wedges) and place on top of the vegetables to keep them under the brine
- Keep the jar on the counter out of the sun or in a cupboard for 5-7 days, they should keep for well over 6 months
- Once opened, store them in the fridge
- Don’t forget to always use clean utensils – no fingers! this will keep your jar lasting a lot longer once it is opened.
 |
| Lacto-Fermented Green Beans |
- Clean the jar and all utensils (knife, board) with hot water and vinegar and sit on a dish rack or clean tea towel to air dry
- Wash the beans and sit on a clean tea towel to dry
- Top the beans (and tail if you prefer, I didn’t bother)
- Lay your jar on the side and start stacking the green beans on top of each other until the jar is quite full and the beans won’t fall over once you stand the jars upright
- Once the jar is upright, keep pushing more and more beans in until you can’t squeeze another bean in. They need to be really tight so they don’t float up in the brine
- Try and squeeze another bean in 😉
- Make a brine by dissolving approximately 2-3 tbsp salt with the water (not all salts are the same so you can adjust the salt to your taste but remember salt is used to inhibit the growth of bad bacteria to give the good bacteria naturally present in the veggies a good start to do their thing, if you prefer softer veggies you can reduce the salt. Too much salt can inhibit all the bacteria and the veggies won’t ferment so I do not recommend using anymore than 3 tbsp per litre of water or any less than 2 tbsp without a culture starter)
- Pour the brine over the vegetables until just covered
- Roll up each cabbage leaf (or place the cabbage wedges) and place on top of the green beans to keep them under the brine
- Keep the jar on the counter out of the sun or in a cupboard for 5-7 days, they should keep for well over 6 months
- Once opened, store them in the fridge
- Don’t forget to always use clean utensils – no fingers! this will keep your jar lasting a lot longer once it is opened.
PS. If you live in Australia, you can order your Body Ecology products from here. Enter discount code ‘loveurbelly’ for 5% off or order direct from Body Ecology USA.
I really recommend the below books if you want to know more about fermentation, I found them really useful when I first started out:
Nourishing Traditions by Sally Fallon
The Art of Fermentation by Sandor Katz
Wild Fermentation by Sandor Katz
The Body Ecology Diet by Donna Gates
- 1 litre (1 Quart size approx) Jar with Flip Top lid/lock (e.g. Fido Jar)
- 400-500gm fresh green beans
- 1 litre clean filtered water (boiled and cooled if unsure)
- 1 tsp to 3 tbsp natural sea salt
- 1 sachet Body Ecology Veggie Culture Starter optional and ½ tsp organic sugar
- 2 cabbage outer leaves or cut 2 wedges of cabbage (all the cabbages seem to have the outer leaves removed over here so I have been using wedges of cabbage, they end up fermented too so I also eat them with the vegetables)
- Take the culture starter sachet out of the fridge to allow it to come to room temperature
- Clean the jar and all utensils (knife, board) with hot water and vinegar and sit on a dish rack or clean tea towel to air dry
- Wash the beans and sit on a clean tea towel to dry
- In a small glass, add some of the water and dissolve halve a tsp of organic sugar (if using the Culture starter, skip if not)
- Empty the sachet into the glass to allow the bacteria to wake up and start feeding on the sugar
- Top the beans (and tail if you prefer, I didn't bother)
- Lay your jar on the side and start stacking the green beans on top of each other until the jar is quite full and the beans won't fall over once you stand the jars upright
- Once the jar is upright, keep pushing more and more beans in until you can't squeeze another bean in. They need to be really tight so they don't float up in the brine
- Try and squeeze another bean in 😉
- Make a brine by dissolving 1 tsp salt with the water, then add the culture starter mixture (salt is used to inhibit the growth of bad bacteria to give the good bacteria a good start to do their thing. Using a culture starter allows you to use less salt, if you prefer softer veggies you can reduce the salt further, increase the salt for more crunch)
- Pour the brine over the green beans until just covered
- Roll up each cabbage leaf (or place the cabbage wedges) and place on top of the vegetables to keep them under the brine
- Keep the jar on the counter out of the sun or in a cupboard for 5-7 days, they should keep for well over 6 months
- Once opened, store them in the fridge
- Don't forget to always use clean utensils - no fingers! this will keep your jar lasting a lot longer once it is opened.


