

How To Grow Your Own Ginger In A Pot
Spring has finally arrived back home in Australia! While I sweat away during the monsoon season in Vietnam, my dad has started growing another batch of ginger at home. I really miss my dad’s backyard. Everything in the backyard is edible with mangoes, bananas, lychees, longans, apples, guavas, blueberries, mulberries, limes, pomelo’s, starfruit, papaya, tomatoes and an endless list of Vietnamese herbs, salads and so much more. Living self sustainably is something we always grew up with where ever we were. As a child I loved walking around the backyard and visiting each plant, checking on the blooms and fruit each tree had to offer.
After the war ended in Vietnam, food was scarce and the rations per family were limited. Everyone who could, did grow their own food to supplement the small rations that were provided. It becomes something that sticks with you, and I can totally get that. My mum and dad, where ever they went provided for themselves in every way and taught us to do the same. It also taught us to really appreciate what nature could provide us.
|
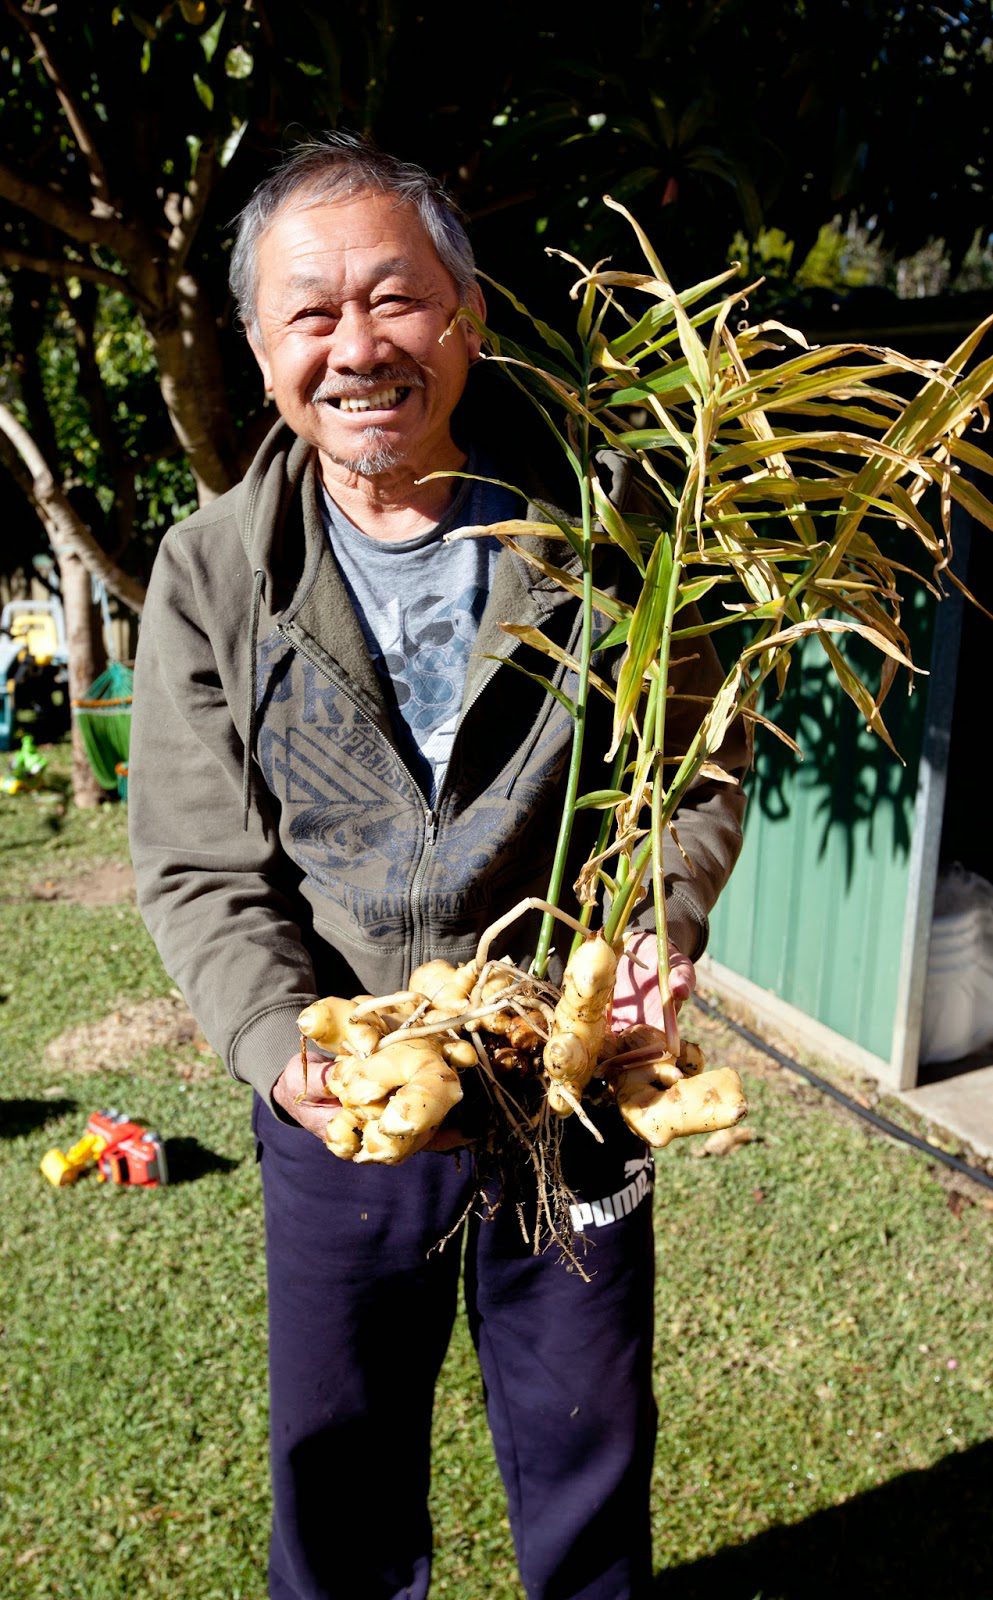
| You can easily grow approximately 1kg (2 ounces) of ginger per pot |
 |
||||||||||
| Growing your own ginger even in limited space is so easy!
Growing our own food is something my brothers and I all enjoy doing, now for pleasure and not so much out of necessity as our parents did. My parents fled Vietnam (I was 6 months old and my brothers were 3 & 6) early in 1979, we made it to Tanjung Uban refugee camp in Indonesia where we later on met up with my grandmother. She gave my oldest brother some seeds wrapped in a piece of paper and told him to keep it safe, so when we arrive at our final destination we could plant it and start providing for ourselves.
We were granted refugee status after 6 months and the options were America or Australia, my oldest brother had heard about Sydney and requested we go to Australia, we were so so lucky and blessed as the intake to Australia was much much less than any other destination. We were flown by Qantas to Sydney and my brother brought the seeds with him (so sorry Australian customs, we didn’t know!!). We arrived to East Hills Hostel and my mum thought she was in heaven. We had beds, food, clothes provided by the Smith family and most of all she knew we would all be safe.
My brother planted the seeds at the front of the hostel. I asked him about it recently and he said for him, it was such a big moment, it provided a sense of belonging and finally feeling settled. I have a 6yo now, and I can’t imagine ever taking him through such a journey.
There are so many good reasons to grow your own food, I hope my short story can inspire you to pickup up a pot, throw in some dirt and grow something! Growing your own ginger is so easy, anyone can do it so long as you are living somewhere warm and sunny and even if you have limited space, you can still grow it in a pot!
This is what dad does every beginning of spring:
 Every knob you see in this piece of ginger has at least 1 eye (except for the broken part on the left)
You can use this method also for Turmeric! I hope you enjoyed this post! Lots of love, May <3
|


- Take a pot about 50cm wide and at least 40cm deep, circular or rectangle is ok, filled with potting/gardening mix (organic if possible) a little more than halfway (you will need to add more soil in a few weeks so allow room for this)
- Make 2 indents with your finger about 10 cms deep, 15cm apart at least, further is better
- Place 2 small knobs of ginger with at least 1 eye facing upwards (the eye is where the shoot will grow from on the rounded end of the ginger) in the indents and cover with soil
- Keep the soil moist but not wet, and place in a sunny position (part or full sun is ok)
- After a couple of weeks top up with more soil as the shoots appear, do that one more time in 2 more weeks to keep the ginger under soil
- The green leafy plant of the ginger is quite pretty, my father harvests the ginger roughly 10 months afterwards (July) when the leaves start to brown and die off. You could harvest a little earlier around 8-9 months
- small knobs of ginger last harvest provided almost 1.5kgs of ginger (Update: in 2016, we got over 2kgs of ginger!)
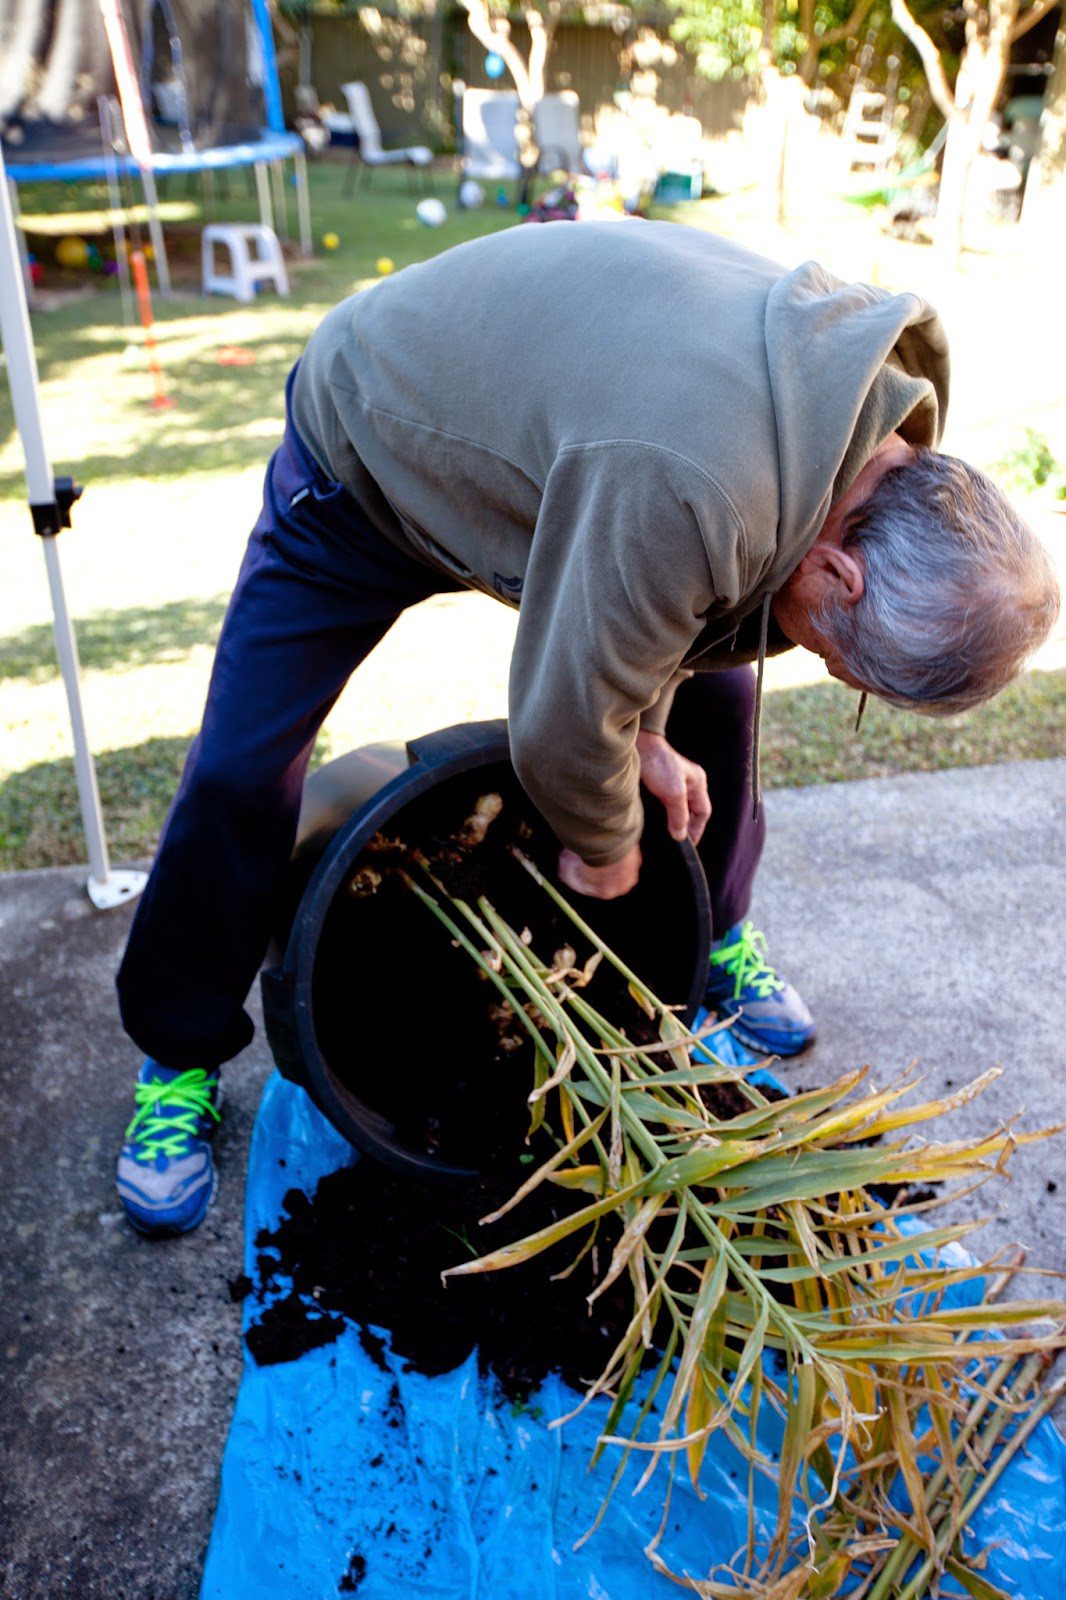
- When its time to harvest, gently dig out the soil onto a plastic sheet (so you can put the soil back in the pot to reuse)
- Loosen up the dirt around the ginger to allow it to be pulled out without breaking
- With all this ginger, you can grate and freeze the ginger in ice cube trays for later use
- Or grate the ginger and mix with minced garlic and freeze (great for asian & indian recipes that usually always call of garlic and ginger!
- You can also ferment the ginger and create a jar full of gingery probiotic goodness by peeling and thinly slicing the ginger, covering it with a brine made from 1 litre of filtered water and 3 level tbsp of natural sea salt, using a flip top jar
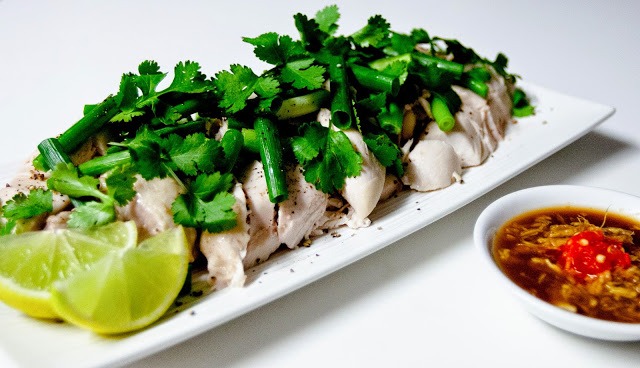
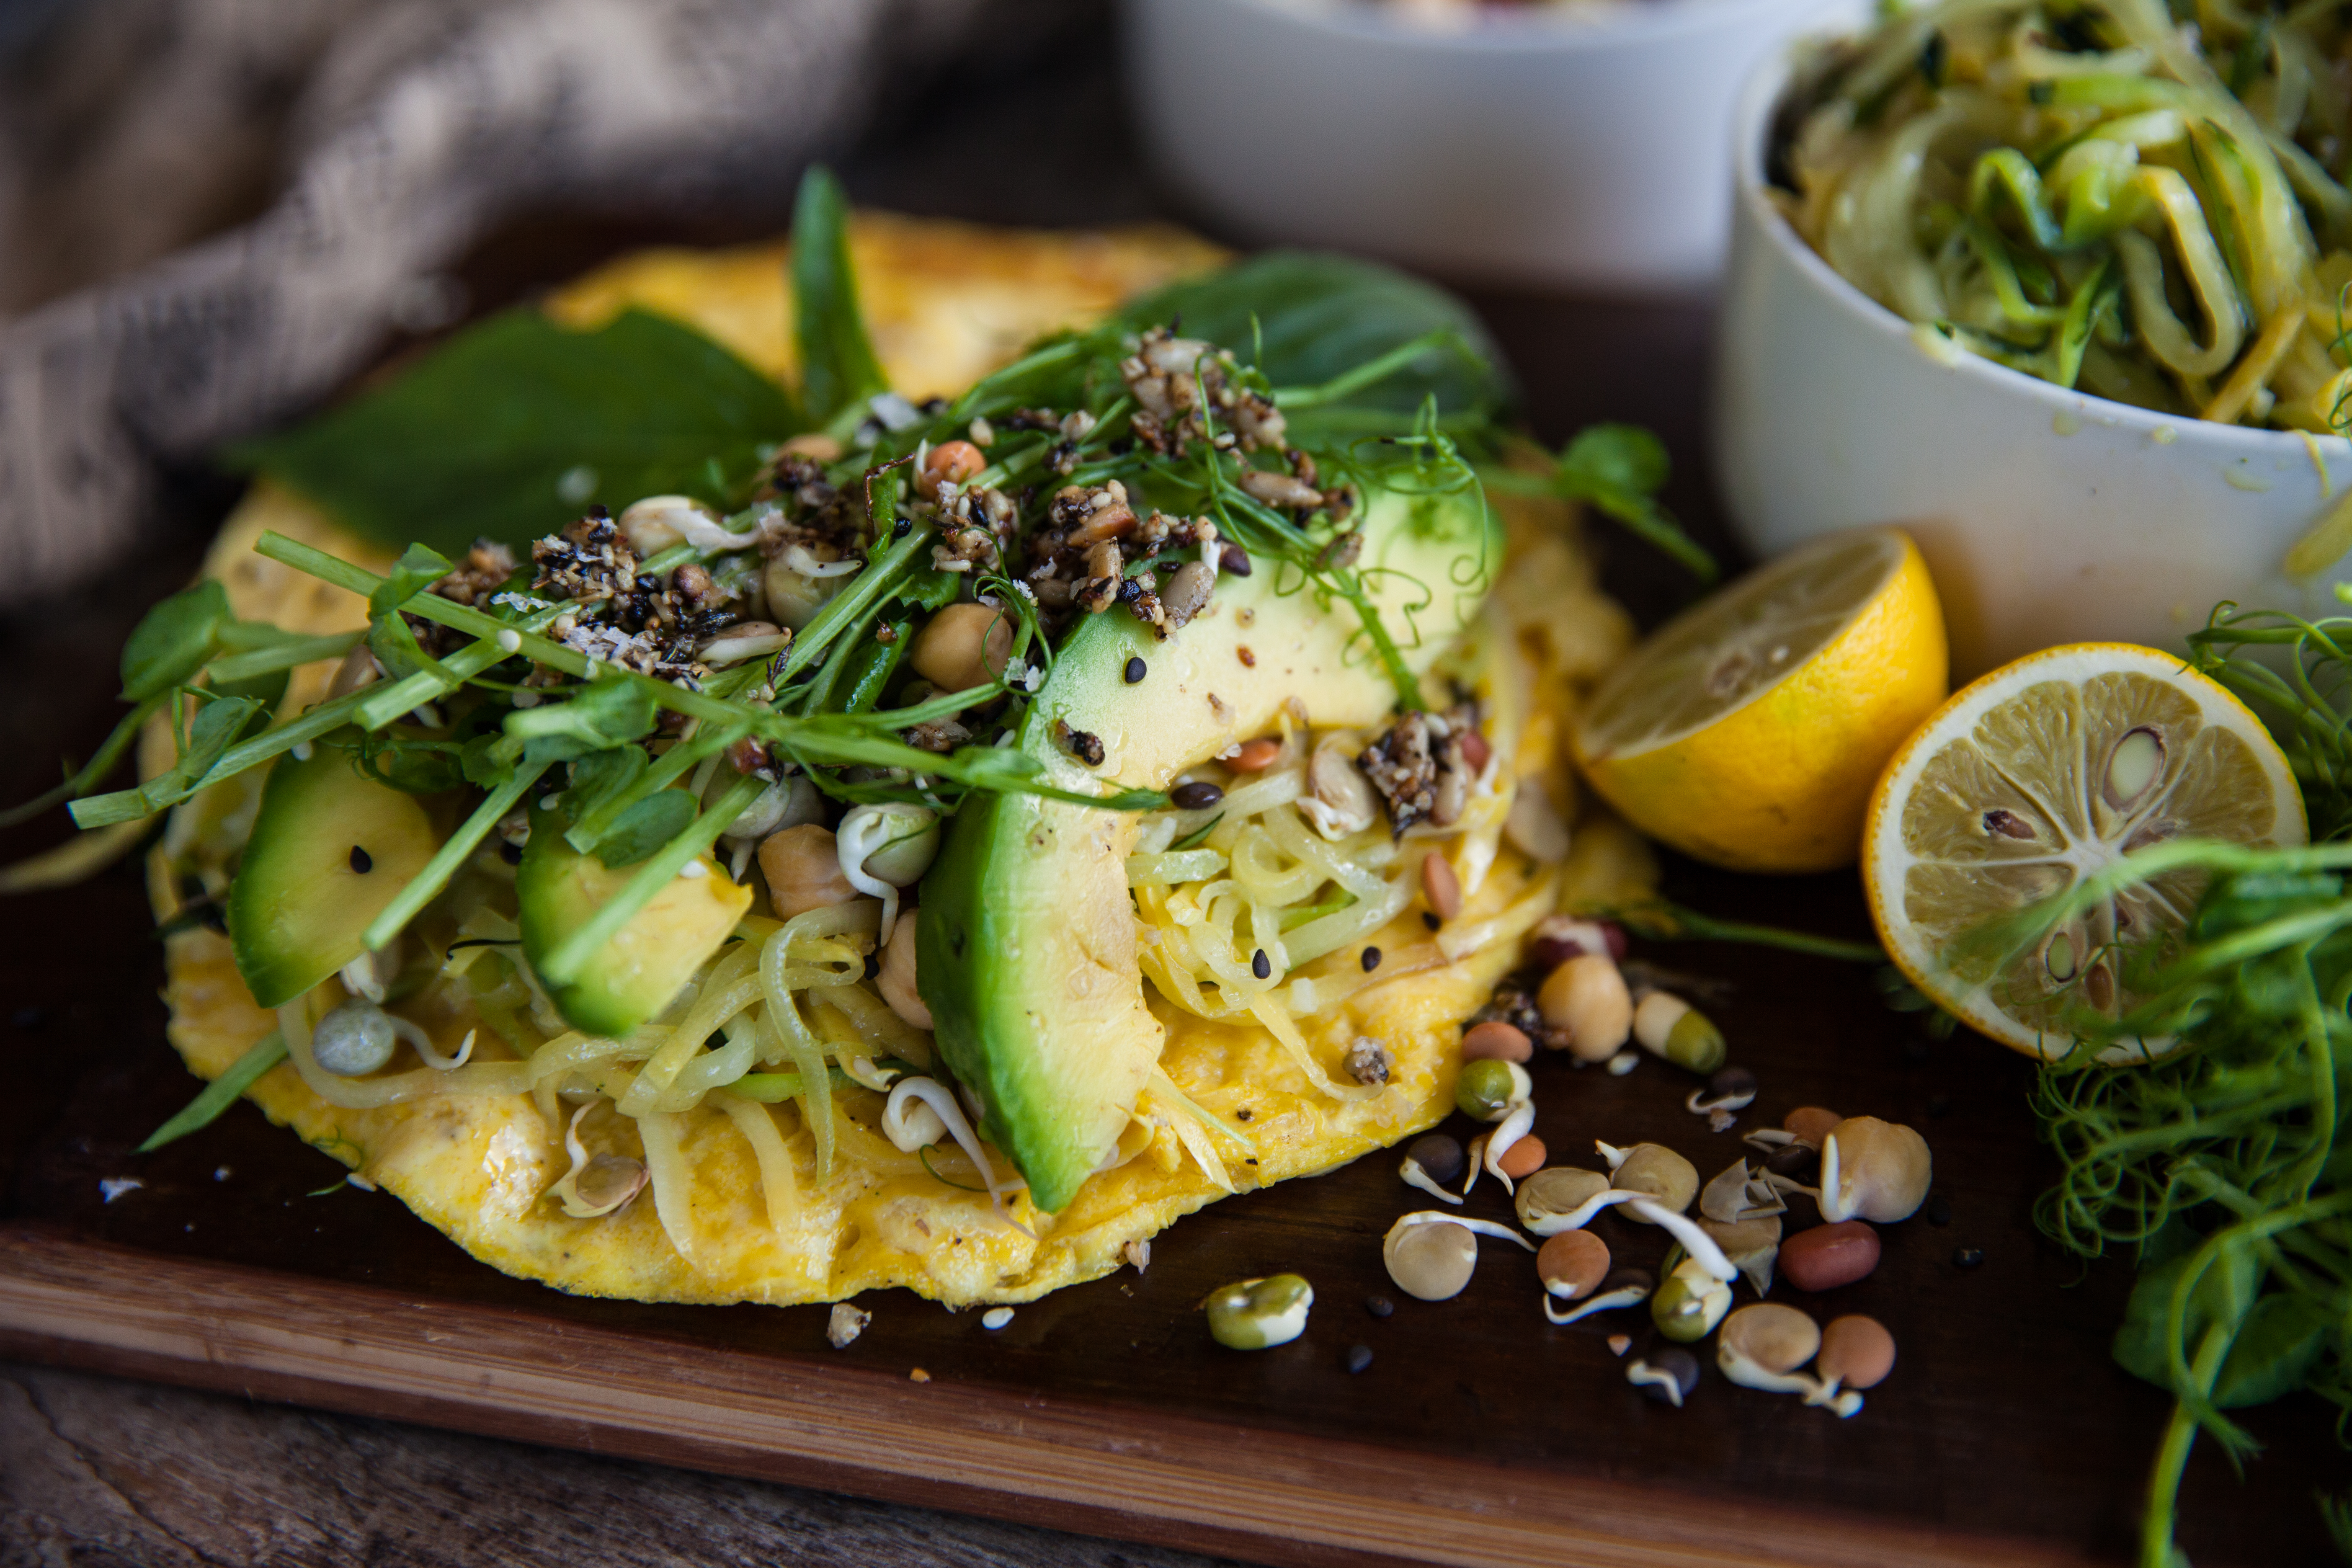
- or check out my list of recipes for some gingerspiration!
