I grew up eating crispy roast pork asian style, we never made it at home but would buy it at the chinese bbq place where they hung the roast ducks and bbq pork in the window. When I made my first crispy roast pork belly I felt pretty nervous as my parents eat it all the time and my husband grew up with roasts. I followed a few different recipes (by Gordon Ramsay and Jamie Oliver) and was surprised that even I could make a crispy pork roast! This is a simple version that I now follow and produces perfect crispy crunchy crackling each time using an electric or gas oven.
Crispy Roast Pork Belly
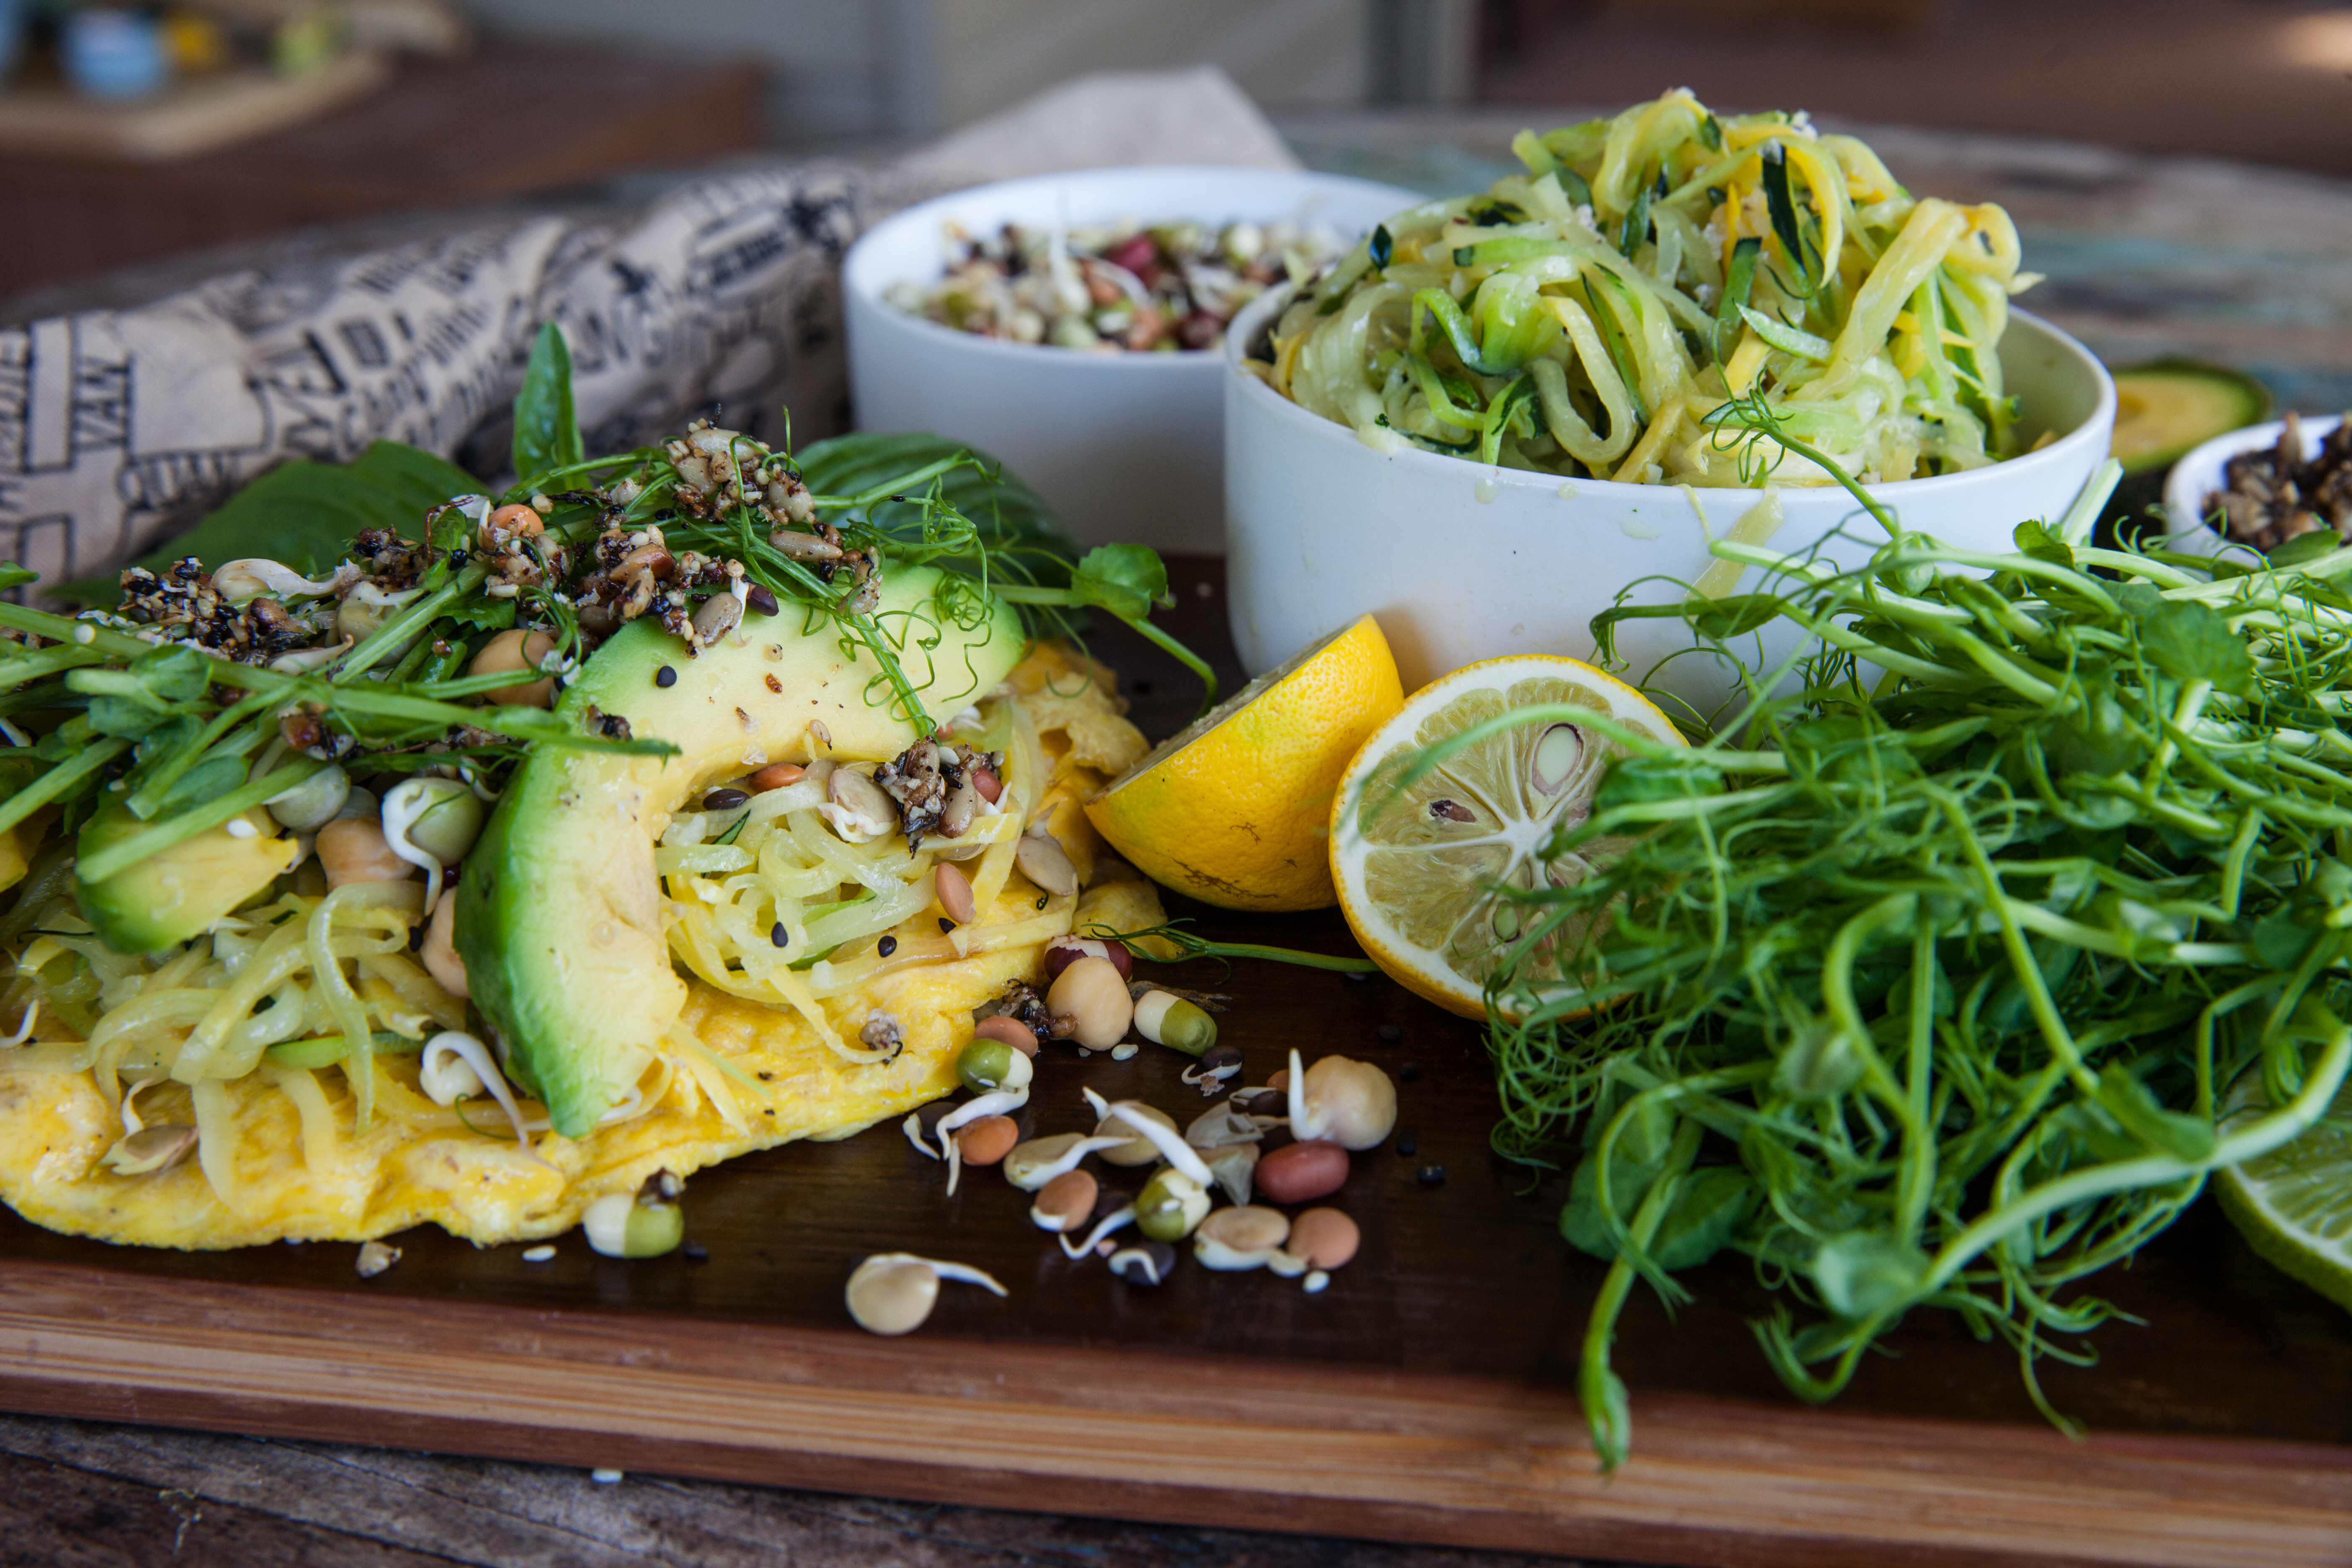
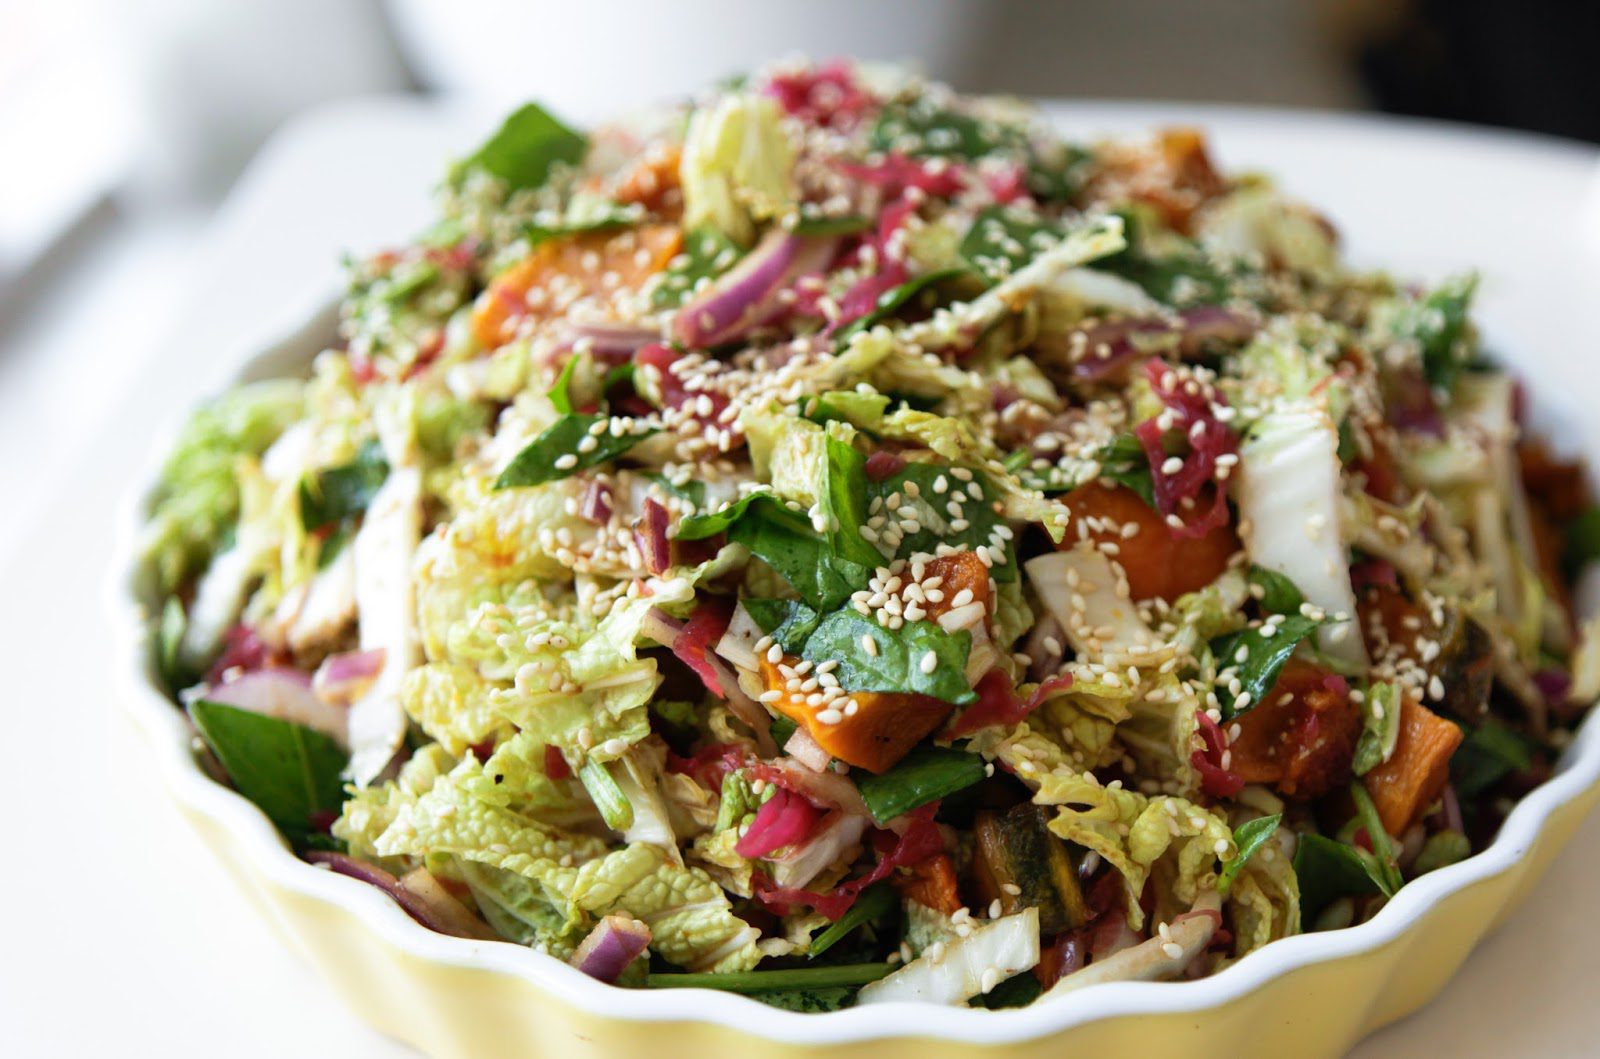
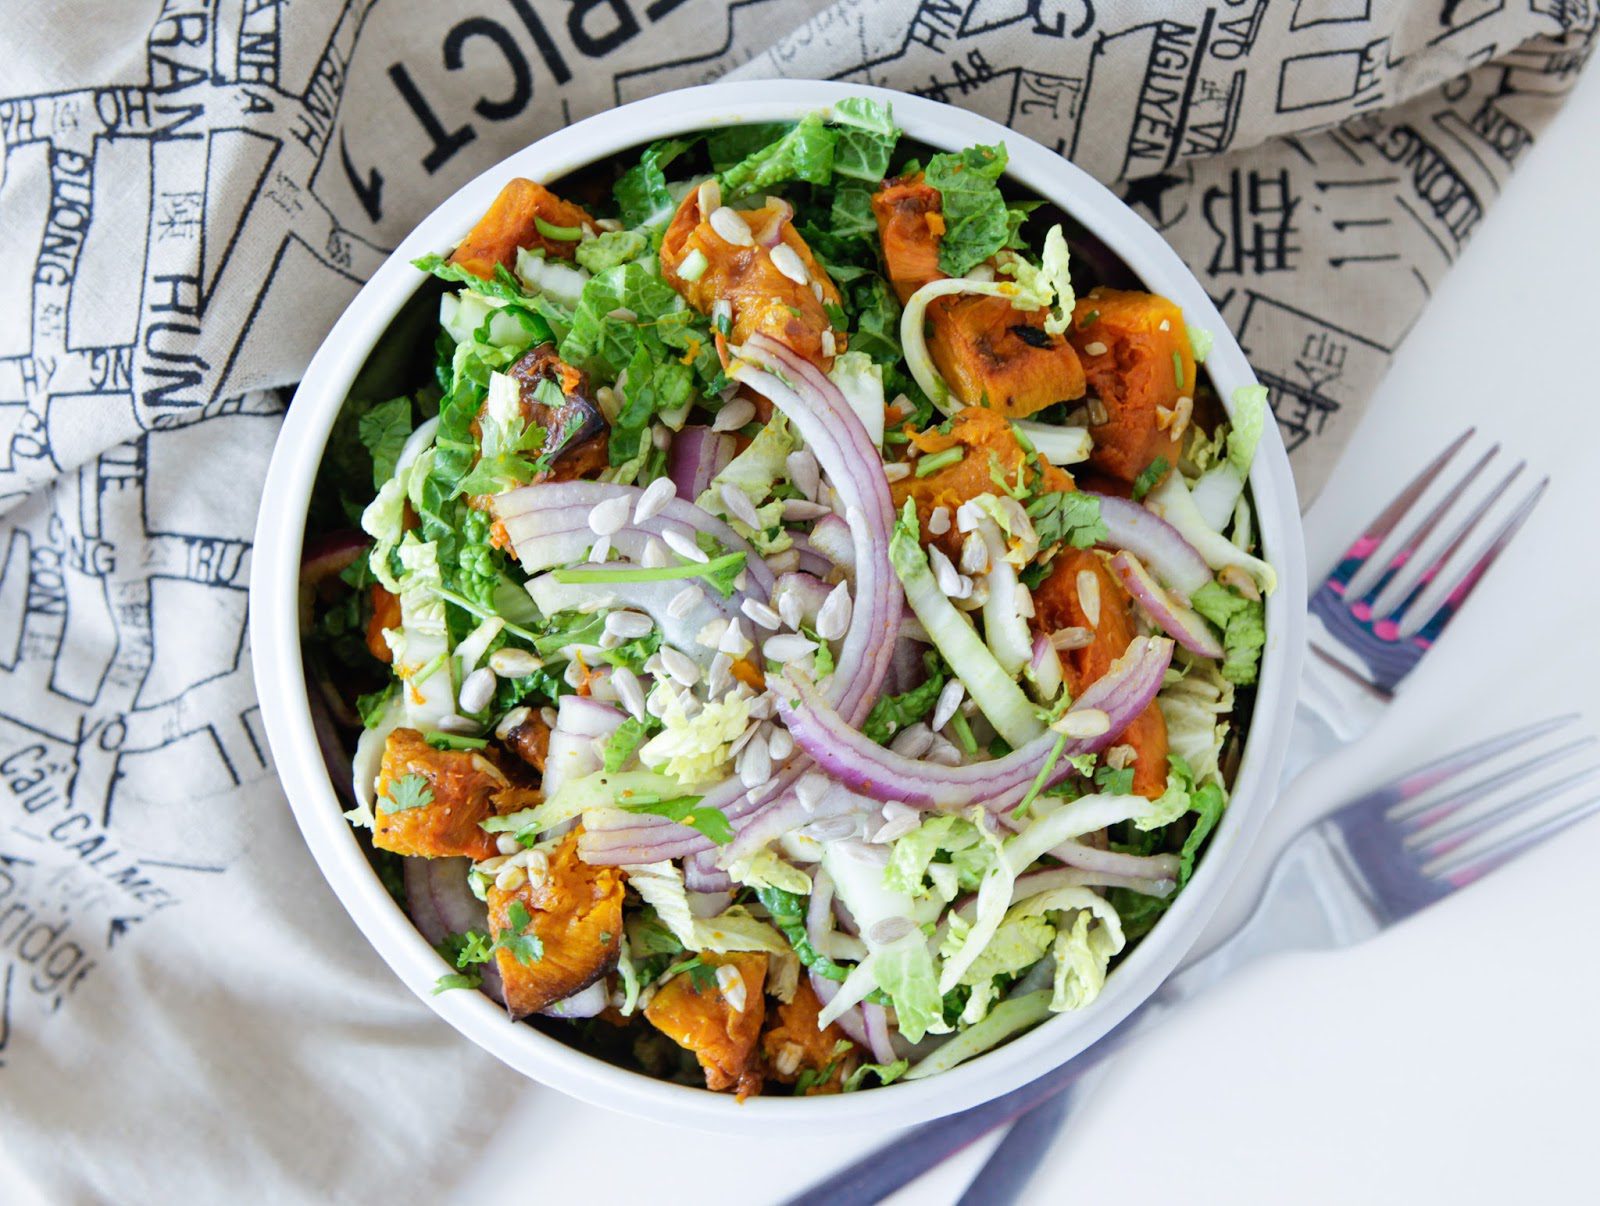
When I’m roasting something in the oven for a few hours I like to make good use of all the energy required to do this by throwing in as many veggies in that will fit in the oven. It’s also great to have left overs for the next day. Some of the things you could throw in to go with this crispy roast pork belly (or for your next meal) are:
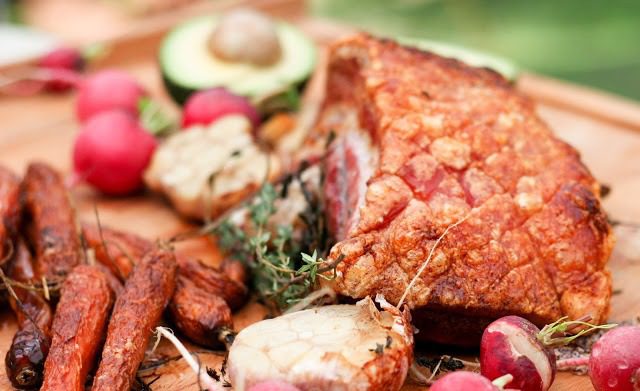
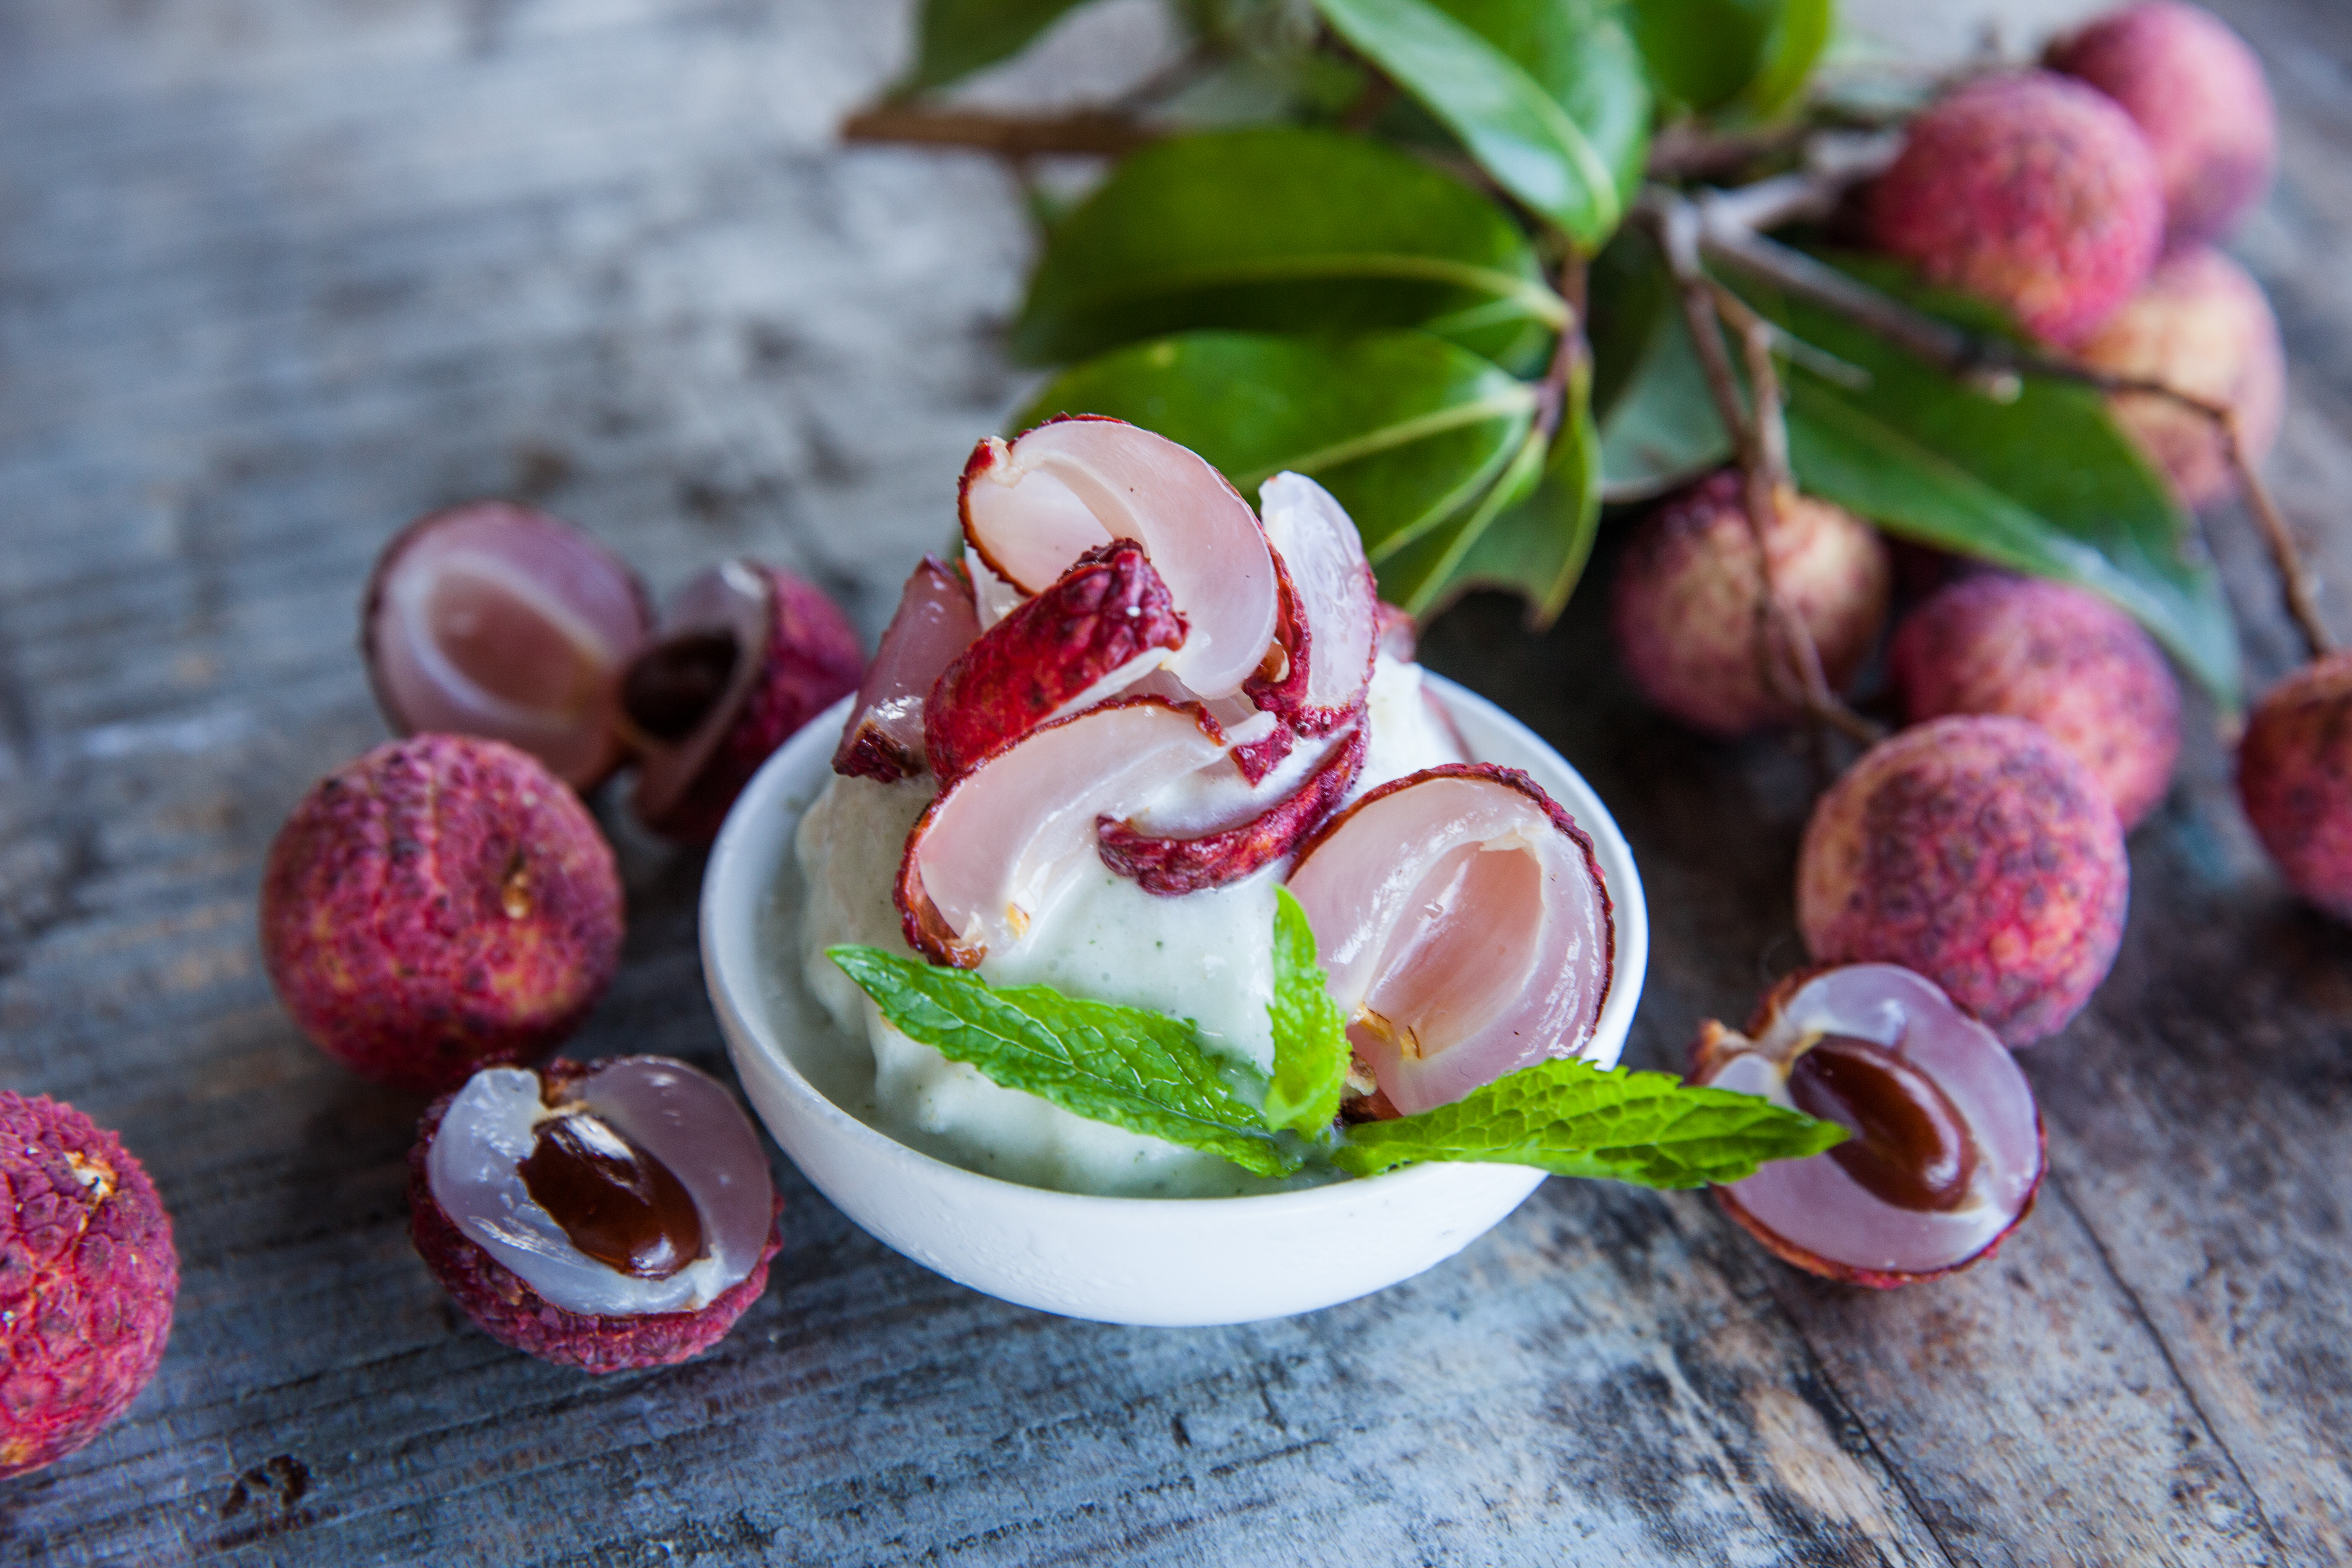
I also love to serve lots of fresh greens and veggies like avocado, radish and a variety of salads.
Crispy Roast Pork Belly
CRISPY ROAST PORK BELLY
Prep Time: 10 mins
Cook Time: 2hr 15mins
Serves 4
You will need:
1 kg organic free range pork belly (there is a fair bit of delicious fat and skin to be eaten so I really recommend finding organic free range pastured pork if you can)
1/2 cup chicken bone broth (see here for recipe) or stock
2 whole bulbs of garlic
1/2 bunch of fresh thyme
I highly recommend finding organic pastured pork belly as there is a lot of delicious fat & crispy skin to be gobbled up! (and most of the toxins / chemicals are stored in the animals fat)
Method:
Preheat the oven to your hottest setting (if you are using a ceramic dish which I did for this post as I was staying at my mums, place the ceramic dish in while the oven is warming up to prevent it from cracking with the sudden change in temperature)
Score the pork belly
Score the skin in a diamond pattern with a sharp knife (mine wasn’t so sharp for this pic 🙂
rub the sea salt & olive oil all over the pork belly and try and get the salt into all the grooves, set aside
Cut the whole bulbs in half then wash and dry the thyme
Place the garlic halves and thyme at the bottom of the dish or tray
add the garlic & thyme
place the pork belly, skin side up over the garlic & thyme
place the pork over the thyme, try and get it even without any dips as this will affect the crackling (I later used small ceramic dish under the middle where it was dipping to get the skin crispy there)
Place in the now really hot oven for 15 minutes
This is what mine looked like at 15mins in a gas oven which had not top element,but don’t worry, the crispy skin will come later 🙂
reduce the oven to 160°c (about 320°f) for gas or 170°c (340°f) for electric and set the timer for 45 mins
after 45 mins has past, add the apple juice and bone broth or stock and set the timer for 1 hour
test the bottom part of the pork with a fork to see if the flesh shreds off easily, if not allow another 15-20mins
If at this stage the skin has not turned to beautiful crispy crackling (if you are using gas this may happen) turn on the top element/grill at 200°c (390°f) – you will probably need to turn off the gas to get the grill function working
allow to grill for 10 minutes, I had a dip in my pork due to where the garlic was sitting so I placed a small ceramic dish under it to raise the area to make sure all the skin crackled up
It should now look like this:
Crispy Roast Pork Belly
use a sharp knife to divide up the crispy pork crackling and meat
serve up with the delicious roast garlic, roast veggies and salad
you can make a gravy with the pan juices if you wish, I’m not a gravy person so I don’t have many tips for this! 😉
1 kg organic free range pork belly (there is a fair bit of delicious fat and skin to be eaten so I really recommend finding organic free range pastured pork if you can)
1 tsp salt (buy on iherb or amazon)
2 tbsp extra virgin olive oil
½ cup apple juice
½ cup chicken bone broth (see here for recipe) or stock
2 whole bulbs of garlic
½ bunch of fresh thyme
Instructions
Preheat the oven to your hottest setting (if you are using a ceramic dish which I did for this post as I was staying at my mums, place the ceramic dish in while the oven is warming up to prevent it from cracking with the sudden change in temperature)
Score the pork belly
rub the sea salt & olive oil all over the pork belly and try and get the salt into all the grooves, set aside
Cut the whole bulbs in half then wash and dry the thyme
Place the garlic halves and thyme at the bottom of the dish or tray
place the pork belly, skin side up over the garlic & thyme
Place in the now really hot oven for 15 minutes
reduce the oven to 160°c (about 320°f) for gas or 170°c (340°f) for electric and set the timer for 45 mins
after 45 mins has past, add the apple juice and bone broth or stock and set the timer for 1 hour
test the bottom part of the pork with a fork to see if the flesh shreds off easily, if not allow another 15-20mins
If at this stage the skin has not turned to beautiful crispy crackling (if you are using gas this may happen) turn on the top element/grill at 200°c (390°f) - you will probably need to turn off the gas to get the grill function working
allow to grill for 10 minutes, I had a dip in my pork due to where the garlic was sitting so I placed a small ceramic dish under it to raise the area to make sure all the skin crackled up
It should now look like this:
use a sharp knife to divide up the crispy pork crackling and meat
serve up with the delicious roast garlic, roast veggies and salad
you can make a gravy with the pan juices if you wish, I'm not a gravy person so I don't have many tips for this! 😉


