

Fermented Carrots – A great introduction to fermented foods for Children
In this post:
- Learn how to make fermented (pickled) carrots
- Tips on how to get your children to eat fermented vegetables
- Where to buy Veggie Culture Starter
One of my favourite things growing up were fermented carrots (pickled carrots). My mum would always have jars and jars of pickled carrots, I would eat them out of the jar or as a side with almost any meal. If you have ever had a Vietnamese pork or chicken roll, chances are you would have had some Vietnamese style pickled carrots. Traditionally made with salt & sugar and left in a swing top glass jar for a few days to ferment & draw out their own juices, they are crunchy, sweet, sour & tangy.
I like to use Body Ecology Veggie Culture Starter with my veggie ferment to ensure they start off with the right bacteria, as my main goal was to get the probiotic goodness into my son. It contains Lactobacillus Plantarum amongst 5 other strains of beneficial bacteria. This particular strain has been shown to assist with various gut issues of which I am sure has assisted my son. (You can leave this out and just add another tablespoon of sea salt or use whey if not dairy free).
PS. If you live in Australia, you can order your Body Ecology products from here. Enter discount code ‘loveurbelly’ for 5% off or order direct from Body Ecology USA.
- 2-4 x 1L swing top jars with rubber seal (Fido Jars work well, I found swing top jars also at Ikea) The number of jars needed for this recipe depends on how you grate the carrot, finely grated with a food processor you may only need 1 or 2 as you can pack them down. I use a mandolin so the carrots are thicker and requires 4 jars.
- 3kg organic carrots
- 2 organic green apples
- 8-10 large cabbage leaves (the outer leaves)
- Juice of 1 lemon
- 1 satchet Body Ecology Culture Starter
- 1-2 tsp sea salt or 2 tbsp salt if not using a culture starter
- 1 litre filtered water or more to cover the carrots by at least 2cm
- Take out 1 satchet of Body Ecology Culture Starter from the fridge to come to room temperature
- Clean jars and all utensils with hot scalding water, rinse well and leave to air dry while you follow the next steps
- Wash the carrots, apples & cabbage leaves, allow the cabbage leaves to air dry on a clean tea towel
- Peel and grate the carrots using a food processor or mandolin. I prefer the mandolin. You can also cut them into small sticks. Place the carrots in a large mixing bowl (you can divide into two bowls if needed)
- If you use a mandolin,
- Grate the green apple in the food processor or mandolin and add to the carrots
- Then add the lemon juice
- Mix and massage in the bowl, then divide into the 4 jars. Using your fist, push & pound the carrots to pack them tightly in the jar leaving about 3cm from the top, add any juices remaining in the bowl also
- Dissolve the salt in the filtered water then add the Culture Starter satchet and stir gently to make the brine
- Add the brine slowly to each jar, little by little, continuing to use your fist to push the carrots down to remove any air bubbles until the carrots are completely submersed in the brine (do not fill the brine right to the top as it will cause a lot of leakage or explosion – yes the glass jar can break due to the pressure during the fermentation – there should still be a 3cm gap from the brine to the top of the jar)
- Just add more filtered water if you do not have enough brine to cover the top of the carrots
- Roll 2 cabbage leaves into logs and firmly place them at the top of the jar to keep the carrots pushed down under the brine
- Lock the flip top lid and leave to ferment away from direct sunlight. It’s good to leave them on a dish to catch any liquids that might escape as the pressure builds up during the fermentation
- Leave to ferment at least 5 days. I like mine at least 7 days.
- Store the veggies on the counter out of direct sunlight or in the pantry cupboard until needed, there is no need to store in the fridge, as traditionally, before refrigeration this is how many cultures preserved their veggies. It should keep for months.
- Only once opened, store the jar in the fridge and always use clean utensils to pick from the jar
- Using flip top glass jars with rubber seals like the one’s pictured, creates an airtight seal so air cannot get in, but allows gas to escape, so it’s normal to hear hissing sounds and a good indication the fermentation process is happening
- There is no need to open and ‘burp’ the jars as the rubber seals allow the gases to escape, it’s best to leave them alone until day 5 at least
- You should also get no mould with this method, and personally I would throw out any batch with mould just as you would throw out mouldy Kombucha (just my personal preference, I have seen variations where mould is acceptable and to just scrape it off) – I had mould once, and the veggies smelt awful, totally different to the ‘fermented’ smell. This was because I didn’t realise the rim of the glass jar had a chip in it and had allowed some air in as it was no longer airtight
- If it’s your first time, start slowly with about a small tablespoon once a day and gradually increase the amount and frequency
- It can cause excessive gas and bloating depending on whats going inside your belly if you have too much too early on
- I like to add fermented veggies to my salads or as a small side to every meal
- To introduce it to young children, try chopping about a tablespoon very finely and mixing it with half a mashed avocado, squeeze of lemon juice & some salt to make a simple guacamole, this is how my son had his first dose of fermented carrots
- Don’t cook the fermented veggies or add it to hot food as the heat will kill the live bacteria (warm food should be ok if you eat it immediately), you can mix it with any cool food or as a side to your meal
 |
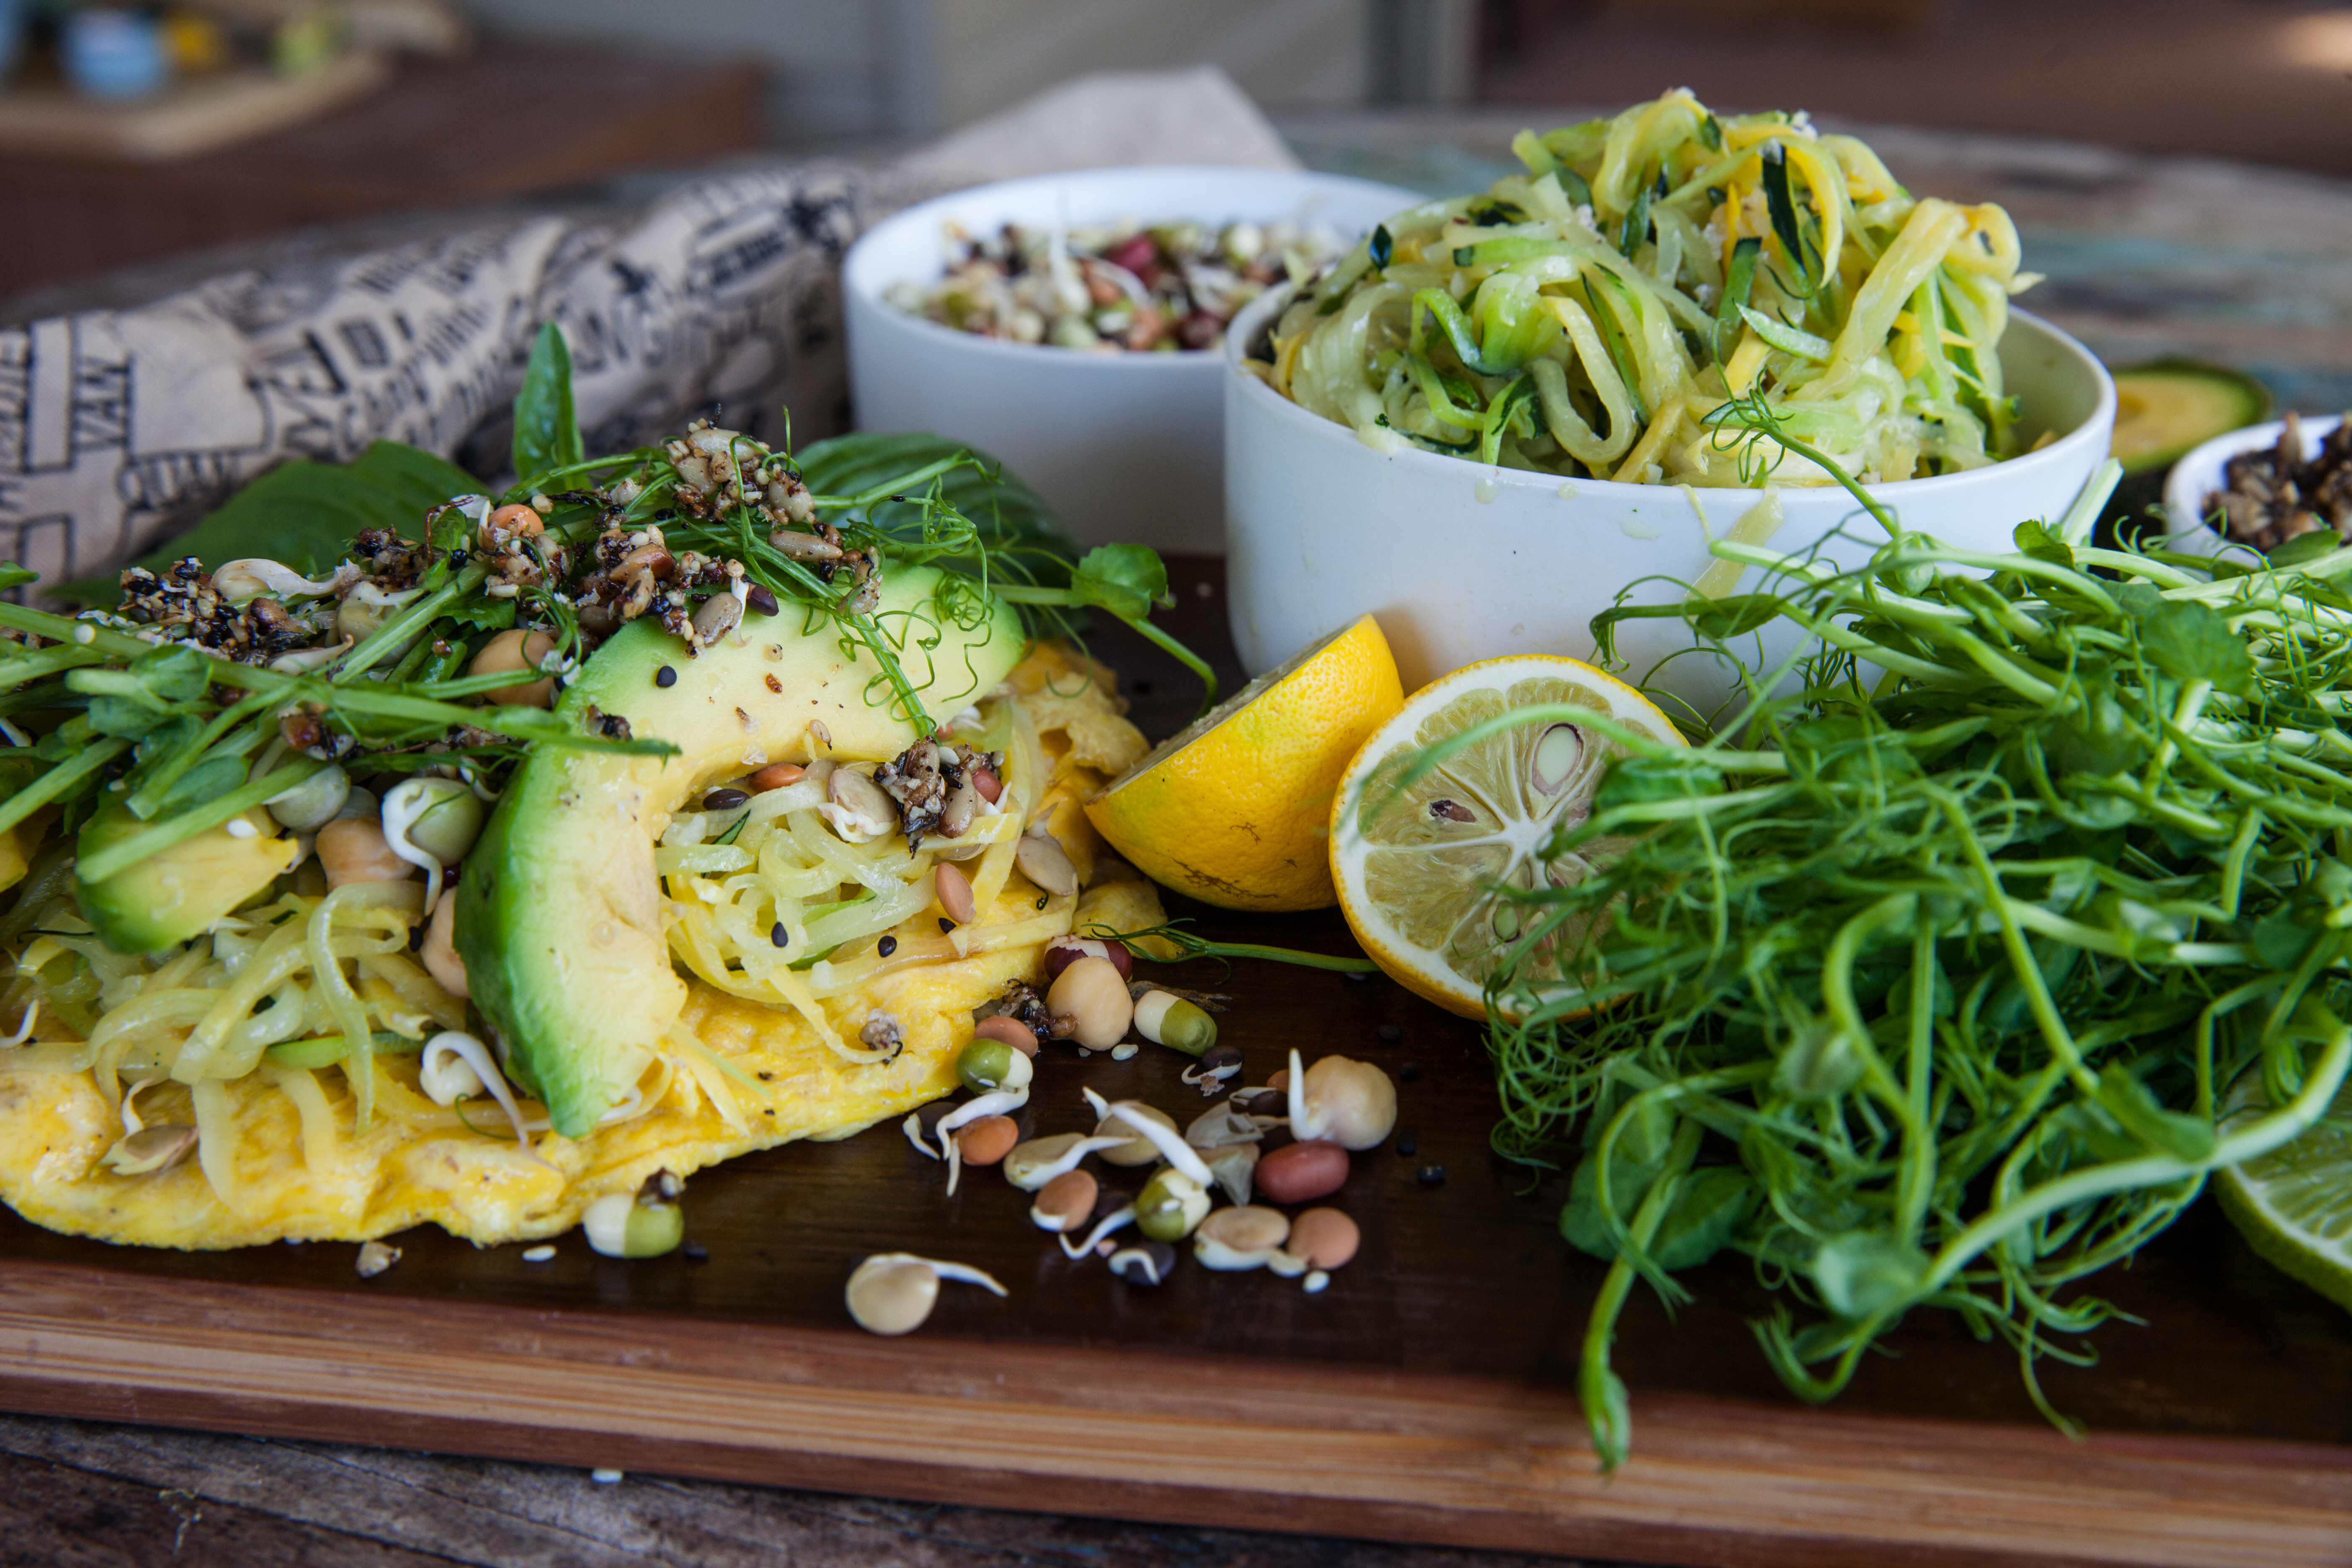
| Top your salad bowl with some fermented veggies |
I really recommend the below books if you want to know more about fermentation, I found them really useful when I first started out:
Nourishing Traditions by Sally Fallon
The Art of Fermentation by Sandor Katz
Wild Fermentation by Sandor Katz
The Body Ecology Diet by Donna Gates
- 2-4 x 1L swing top jars with rubber seal (Fido Jars work well, I found swing top jars also at Ikea) The number of jars needed for this recipe depends on how you grate the carrot, finely grated with a food processor you may only need 1 or 2 as you can pack them down. I use a mandolin so the carrots are thicker and requires 4 jars.
- 3kg organic carrots
- 2 organic green apples
- 8-10 large cabbage leaves (the outer leaves)
- Juice of 1 lemon
- 1 satchet Body Ecology Culture Starter
- 1-2 tsp sea salt or 2 tbsp salt if not using a culture starter
- 1 litre filtered water or more to cover the carrots by at least 2cm
- Take out 1 satchet of Body Ecology Culture Starter from the fridge to come to room temperature
- Clean jars and all utensils with hot scalding water, rinse well and leave to air dry while you follow the next steps
- Wash the carrots, apples & cabbage leaves, allow the cabbage leaves to air dry on a clean tea towel
- Peel and grate the carrots using a food processor or mandolin. I prefer the mandolin. You can also cut them into small sticks. Place the carrots in a large mixing bowl (you can divide into two bowls if needed)
- If you use a mandolin,
- Grate the green apple in the food processor or mandolin and add to the carrots
- Then add the lemon juice
- Mix and massage in the bowl, then divide into the 4 jars. Using your fist, push & pound the carrots to pack them tightly in the jar leaving about 3cm from the top, add any juices remaining in the bowl also
- Dissolve the salt in the filtered water then add the Culture Starter satchet and stir gently to make the brine
- Add the brine slowly to each jar, little by little, continuing to use your fist to push the carrots down to remove any air bubbles until the carrots are completely submersed in the brine (do not fill the brine right to the top as it will cause a lot of leakage or explosion - yes the glass jar can break due to the pressure during the fermentation - there should still be a 3cm gap from the brine to the top of the jar)
- Just add more filtered water if you do not have enough brine to cover the top of the carrots
- Roll 2 cabbage leaves into logs and firmly place them at the top of the jar to keep the carrots pushed down under the brine
- Lock the flip top lid and leave to ferment away from direct sunlight. It's good to leave them on a dish to catch any liquids that might escape as the pressure builds up during the fermentation
- Leave to ferment at least 5 days. I like mine at least 7 days.
