
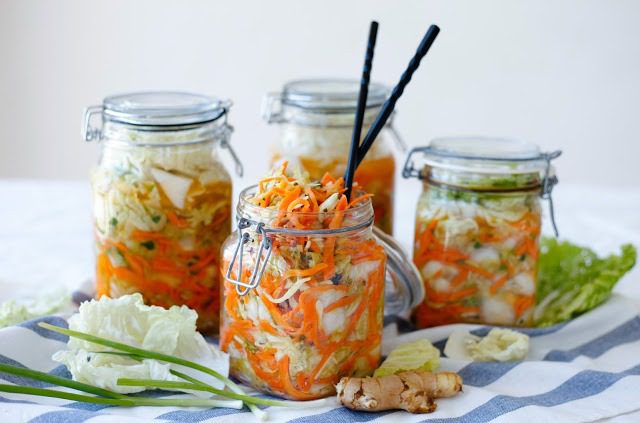
Simple Fermented Kim Chi for Beginners
Kim Chi is a traditional Korean side dish, naturally fermented with garlic, chill, chinese cabbage (aka wombok or napa cabbage) and various vegetables. It is full of probiotics and rich in vitamins. The nutrients in the vegetables become much easier for the body to absorb as the vegetables are pre-digested by the good bacteria naturally present. Some of the vitamin content can be increased up to 300 times compared to eating the vegetables raw. Fermented foods are wonderful for the body and this simple fermented kim chi is really tasted and not too strong for beginners.
|
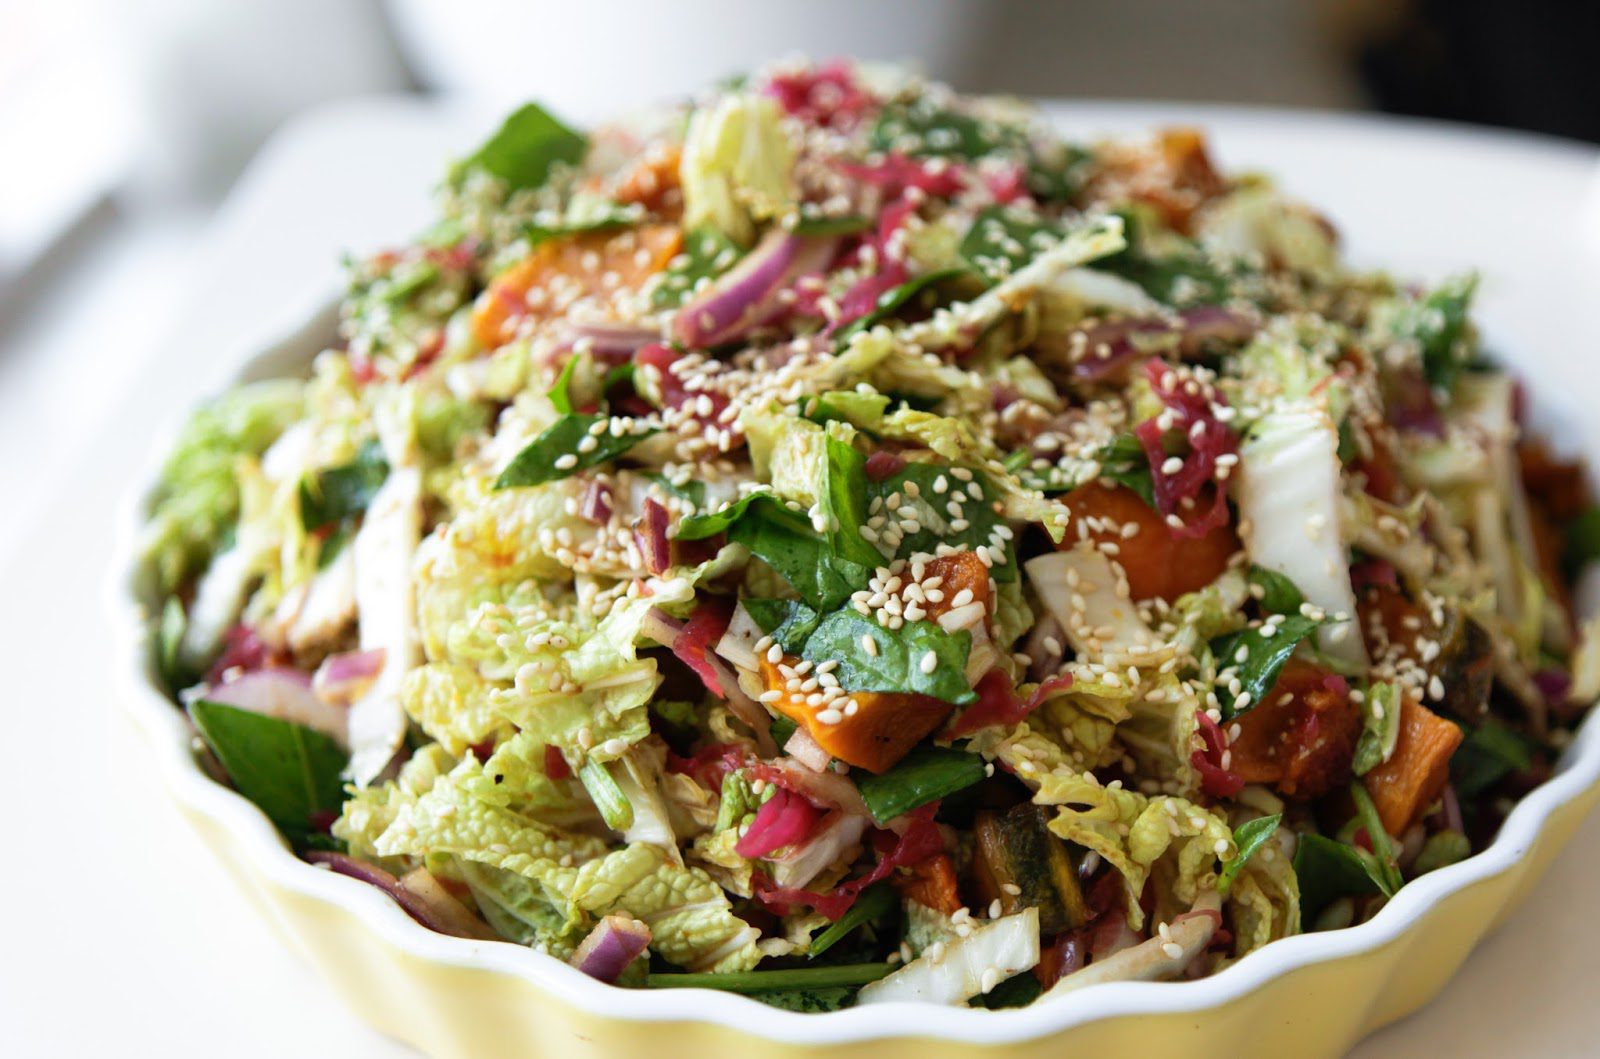
| Simple Fermented Kim Chi for Beginners |
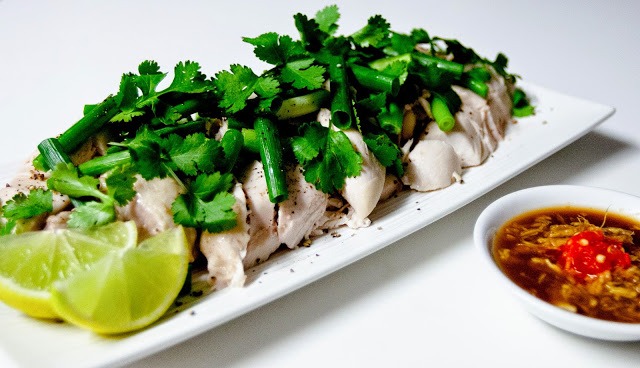
I didn’t add garlic to this version as I love to be able to eat this anytime of the day and not worry about whether I am heading out for the day so the flavour is mild but still very tasty, feel free to add fresh garlic if you wish! Spicy, sour and salty, it goes well as a side for any meal. I love it just wrapped in nori and sprinkled with sesame seeds as a snack.
 |
| Simple Fermented Kim Chi for Beginners |
SIMPLE FERMENTED KIM CHI FOR BEGINNERS
Prep time: 45mins
Ferment time: 3 days (but better the longer you leave it, lasts for at least 6 months unopened)
Makes a 750ml Jar
You will need:
- 500gms (approx 1 lb) chinese cabbage (aka wombok or napa), washed and cut into 1 inch pieces plus 2 large outer leaves uncut, washed and dried
- 1 carrot, grated
- 2 spring onions, thinly sliced
- 1 inch ginger julienned (cut into fine strips)
- 1/2 tsp cayenne pepper (reduce or increase to your preference)
- optional – 1 clove of garlic thinly sliced. I prefer not to have garlic in mine but it is an amazing superfood and beneficial to add if you don’t mind the smell 😉
- 1 litre of filtered water
- 3 tbsp natural sea salt
- 1 750ml glass flip top jar (fido jar) – I find these work best for me as the rubber seal allows gasses to escape while still keeping the jar airtight
 |
| Slice the chinese cabbage into 1 inch pieces |
Method:
- make sure all your utensils, bowls, knives and hands are very clean with no soap residue, use a clean tea towel for drying your hands as you don’t want to introduce any unneccesary bad bacteria into your ferment
- make the brine by dissolving 3tbsp of natural sea salt in the filtered water
- wash, dry the chinese cabbage, then slice into 1 inch pieces
- place the cabbage in a large mixing bowl and pour over the brine
- using a ceramic plate, weigh the cabbage down under the brine for 30 minutes
- in the meantime, wash your jar in hot water and vinegar and allow to air dry on a clean tea towel
- prepare the rest of the vegetables
 |
| Weight the chinese cabbage under the brine with a ceramic plate |
- peel and grate the carrot (I use a mandolin which cuts into fine strips which to me is prettier and crunchier than grating)
- finely slice the spring onions
- peel and julienne the ginger (cut into fine strips)
- after the cabbage has soaked in the brine for 30 minutes, pour the brine into a jar and reserve for later
- add the carrots and ginger
- add the spring onions and cayenne pepper and mix well
 |
| Mix all the ingredients together |
- massage and bruise the cabbage mixture with your hands for approximately five minutes to release the juices
 |
| massaging and bruising the vegetables releases the natural juices |
- place the kim chi mixture into the glass jar, packing down really well with your fist
- add all of the juices from the mixing bowl
- pack the vegetables down hard again to ensure all the air bubbles are released
- pour some of the reserved brine in to the jar to submerge the vegetables but allow a 1 inch gap for the gases to expand (the jar can explode if filled to the top)
- roll up the 2 large outer leaves and place on top to keep the veggies submerged under the brine
- sit the jar out of direct sunlight for at least 3 days in warm climates and about 5-7 days in colder climates
- have a taste with clean utensils (no hands) to check if it’s ready, it should be now sour and tangy, if not close the jar and leave for 2-3 more days
- I have never had a batch go mouldy using this method except when I didn’t realise there was a chip in the glass jar and the seal was not airtight, if you get mould or the smell is really foul (which is very different to the fermented smell) throw the whole batch away and start again
- you can feel free to add a tsp of body ecology veggie culture starter to ensure your batch starts off with the right strains. I always add a culture starter for my kids ferments as my son was being treated for a nasty c.diff (superbug) infection and has recovered and stayed clear since eating fermented veggies daily (If you live in Australia, you can order your Body Ecology products from here. Enter discount code ‘loveurbelly’ for 5% off or order direct from Body Ecology USA)
 |
| Simple Fermented Kim Chi for Beginners – garlic free for a milder taste |
I hope you enjoy this recipe and are able to include this cheap and wonderful superfood in your daily diet. If you have any questions, feel free to leave me a comment 🙂
May xx
Simple Fermented Kim Chi for Beginners
Prep time
Total time
Serves: 750ml
Ingredients
- 500gms (approx 1 lb) chinese cabbage (aka wombok or napa), washed and cut into 1 inch pieces plus 2 large outer leaves uncut, washed and dried
- 1 carrot, grated
- 2 spring onions, thinly sliced
- 1 inch ginger julienned (cut into fine strips)
- ½ tsp cayenne pepper (reduce or increase to your preference)
- optional - 1 clove of garlic thinly sliced. I prefer not to have garlic in mine but it is an amazing superfood and beneficial to add if you don't mind the smell 😉
- 1 litre of filtered water
- 3 tbsp natural sea salt
- 1 750ml glass flip top jar (fido jar) - I find these work best for me as the rubber seal allows gasses to escape while still keeping the jar airtight
Instructions
- make sure all your utensils, bowls, knives and hands are very clean with no soap residue, use a clean tea towel for drying your hands as you don't want to introduce any unneccesary bad bacteria into your ferment
- make the brine by dissolving 3tbsp of natural sea salt in the filtered water
- wash, dry the chinese cabbage, then slice into 1 inch pieces
- place the cabbage in a large mixing bowl and pour over the brine
- using a ceramic plate, weigh the cabbage down under the brine for 30 minutes
- in the meantime, wash your jar in hot water and vinegar and allow to air dry on a clean tea towel
- prepare the rest of the vegetables
- peel and grate the carrot (I use a mandolin which cuts into fine strips which to me is prettier and crunchier than grating)
- finely slice the spring onions
- peel and julienne the ginger (cut into fine strips)
- after the cabbage has soaked in the brine for 30 minutes, pour the brine into a jar and reserve for later
- add the carrots and ginger
- add the spring onions and cayenne pepper and mix well
- massage and bruise the cabbage mixture with your hands for approximately five minutes to release the juices
- place the kim chi mixture into the glass jar, packing down really well with your fist
- add all of the juices from the mixing bowl
- pack the vegetables down hard again to ensure all the air bubbles are released
- pour some of the reserved brine in to the jar to submerge the vegetables but allow a 1 inch gap for the gases to expand (the jar can explode if filled to the top)
- roll up the 2 large outer leaves and place on top to keep the veggies submerged under the brine
- sit the jar out of direct sunlight for at least 3 days in warm climates and about 5-7 days in colder climates
- have a taste with clean utensils (no hands) to check if it's ready, it should be now sour and tangy, if not close the jar and leave for 2-3 more days
- I have never had a batch go mouldy using this method except when I didn't realise there was a chip in the glass jar and the seal was not airtight, if you get mould or the smell is really foul (which is very different to the fermented smell) throw the whole batch away and start again
- you can feel free to add a tsp of body ecology veggie culture starter to ensure your batch starts off with the right strains. I always add a culture starter for my kids ferments as my son was being treated for a nasty c.diff (superbug) infection and has recovered and stayed clear since eating fermented veggies daily (If you live in Australia, you can order your Body Ecology products from here. Enter discount code 'loveurbelly' for 5% off or order direct from Body Ecology USA)
